Sis Boom Clip Art Series: Digital Ephemera Frame

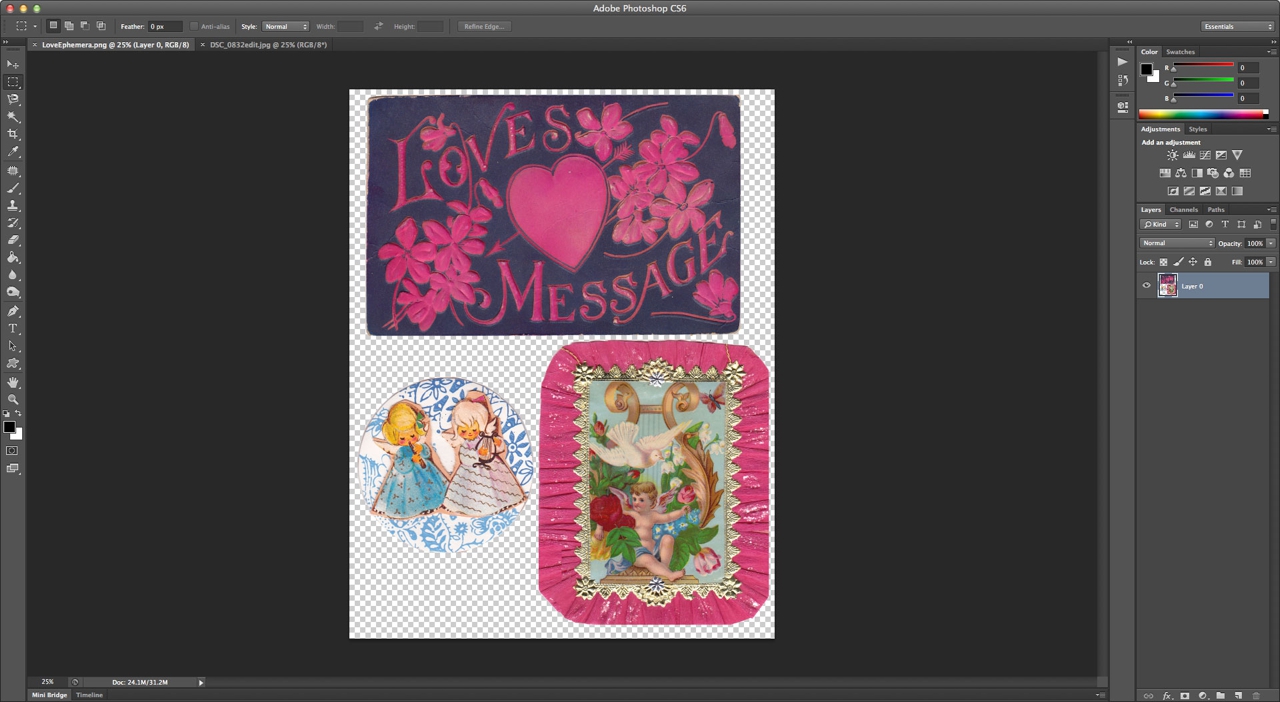
Hi guys! For this week’s Sis Boom Clip Art project I’ve got something a little different for you – an actual digital project using the digital clip art! Shocking, I know! hah Anyways, bust out your copy of Photoshop, and let’s get cracking!  For this project we’ll be using one of the pieces from the Love Ephemera clip art file.
LoveEphemeraProductImage

LoveColorful_Digital Ephemera Frame_0001

First up, open the digital clip art file (.png) and a photograph you would like to use in Photoshop. (P.S. you can click any of these screenshots I’ll be using to show them a little bigger if you need to! Also, if I mention any keyboard shortcuts, I’m using a Mac – things may differ slightly on a PC, but will be the same basic concept)
LoveColorful_Digital Ephemera Frame_0002

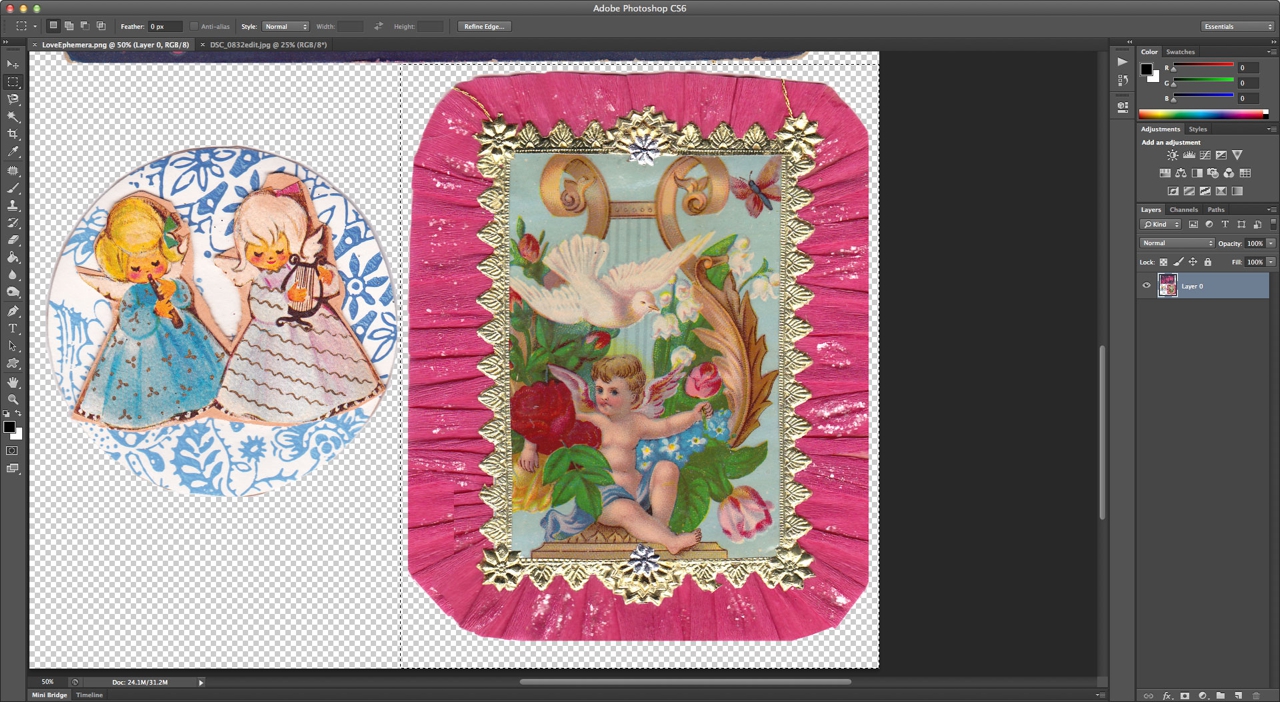
Using the “Rectangular Marquee Tool” on the left hand side of your screen (the dotted rectangle icon below the arrow at the top) select just the frame in the bottom right corner. Then copy the selection (“Edit > Copy”)

LoveColorful_Digital Ephemera Frame_0003

Now go to “File > New” to open a new document. By default, since you have a selection copied to your clipboard, it should come up as showing a preset for “Clipboard” (This will automagically size your new document to fit your selection). Hit OK!

LoveColorful_Digital Ephemera Frame_0004And paste your selected image into your new document.

LoveColorful_Digital Ephemera Frame_0005

At this point, if the photograph you chose to use is vertical, leave your canvas the way it is. If your photo is horizontal, however, go to “Image > Image Rotation > 90 CW”

LoveColorful_Digital Ephemera Frame_0006

Ok, now for the fun part – we get to use the Polygonal Lasso Tool! You select the tool, then click ‘points’ in which to make your selection. Start from one of the inside corners of the center image, and keep clicking along the edge – basically trace the inside frame. While the little cherub dude is cute and all, you want to add your own shining face, right? (Or perhaps a loved one, your pet gerbil, or a pretty scene)

LoveColorful_Digital Ephemera Frame_0007Once you’ve gone all the way around the middle of the frame, you’ll see the marquee dotted line wiggling all over the place. (You’ll notice a little circle appears at the corner of the tool once you’ve made it all the way around to the beginning and connect your lines)

LoveColorful_Digital Ephemera Frame_0008

LoveColorful_Digital Ephemera Frame_0009Now we want to invert the selection, so go to “Select > Inverse”

LoveColorful_Digital Ephemera Frame_0012Next we have to create a layer mask, so click the icon at the bottom of your layers pane that looks like a circle inside a rectangle. Click that and you should get something that looks like the picture above.

LoveColorful_Digital Ephemera Frame_0013

Next add a new layer. Then go to the photograph file you want to use, select all, copy, and paste it into your frame file.

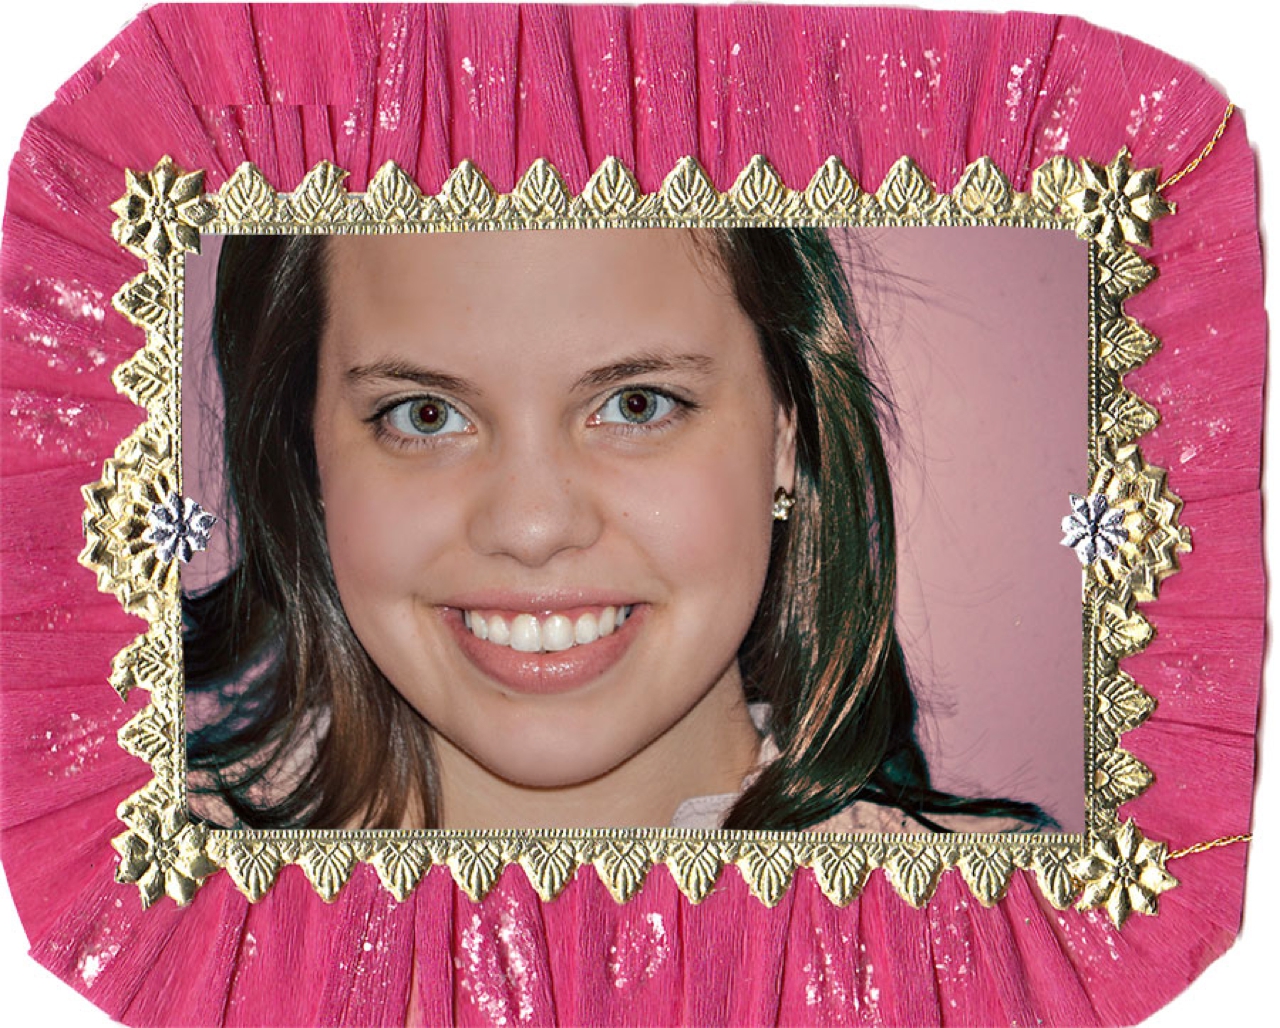
LoveColorful_Digital Ephemera Frame_0015Use the “control button + T” (or “Edit > Free Transform”)to fit the image (it will give you a box to resize it with). Hold shift and drag one corner of the photo until it is the size you need to fit in the frame. Then simply save your work, and bada-bing bada-boom: a super cute digital picture frame!

LoveColorful_Digital Ephemera Frame_0016

Birthday Treats!

LoveColorful_Birthday Treats_0005

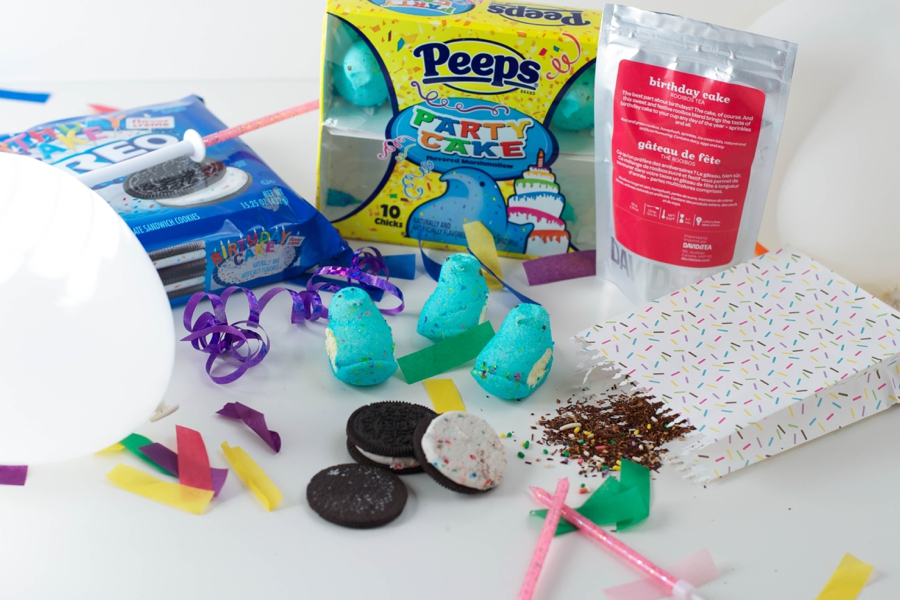
Who doesn’t love a good birthday? I know I do! Cake, balloons, presents, fun surprises – what’s not to like?  Looking for something a little different, though? Something a little out of the ordinary? Look no further, for I’ve found you guys three super cool birthday cake alternatives that would make a perfect gift and/or sweet to get your celebration started.

LoveColorful_Birthday Treats_00061. Birthday Cake Tea

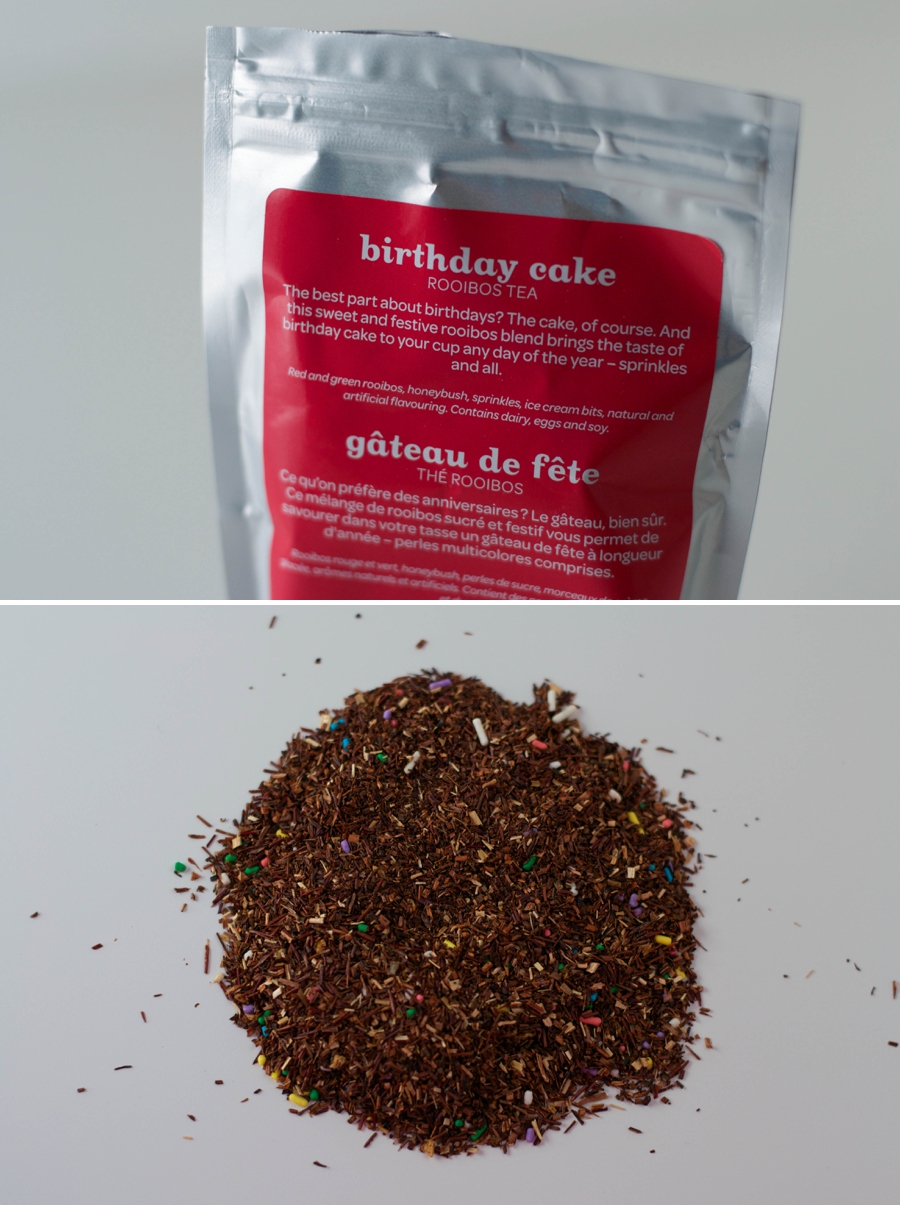
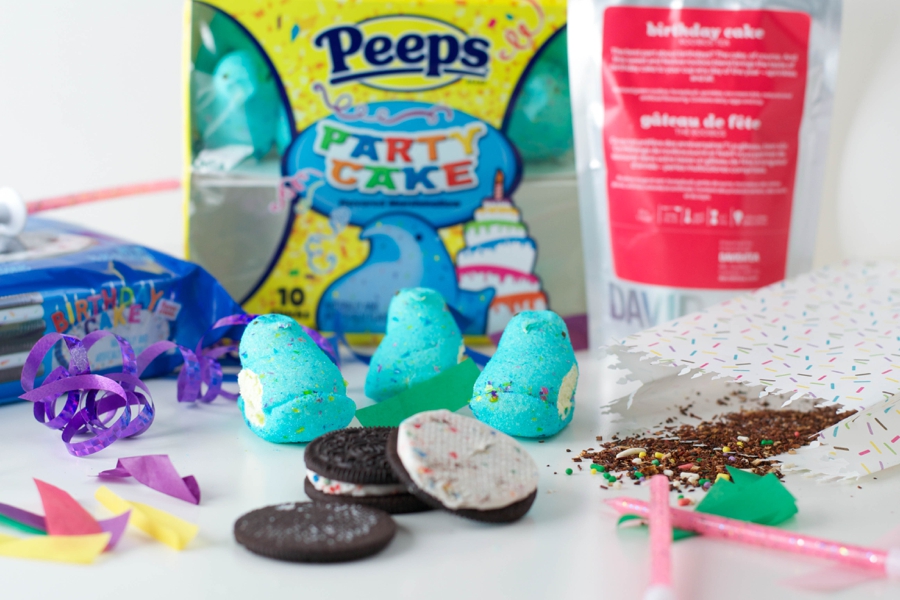
Good news! Now you can eat your cake – and drink it too!! (And no, I’m not talking cake flavored booze here folks – that’s an entirely different party altogether…) Thanks to the geniuses over at David’s Tea who thought up adding SPRINKLES and ICE CREAM BITS to a lovely rooibos, you can now celebrate the day of your birth with a healthy, low-cal, caffeine free beverage. How sweet is that?

LoveColorful_Birthday Treats_00082. Party Cake Peeps

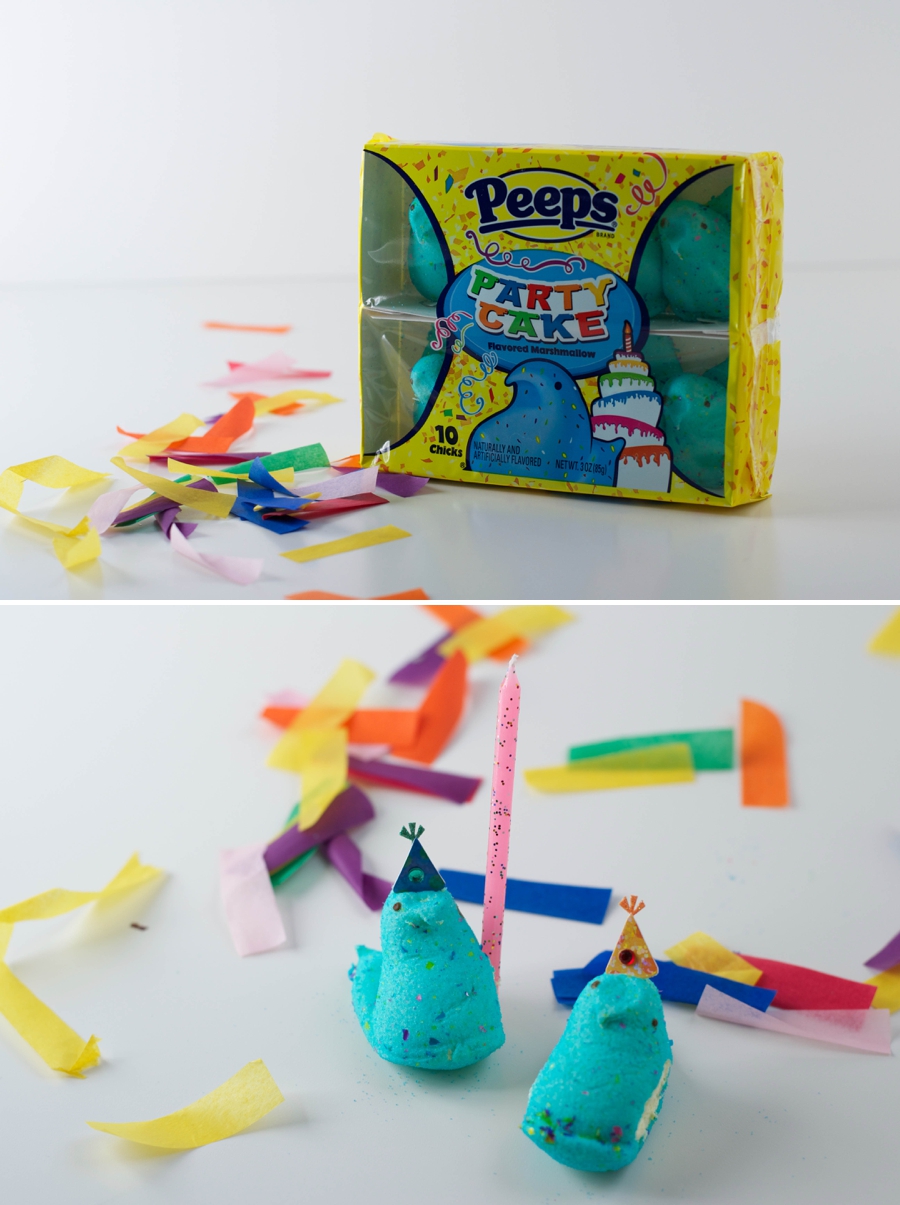
I really didn’t think Peeps could get any cooler, but then they went and added colored speckles and a cake flavoring. Brilliant. Add some birthday candles and we’ve got a festive new take on peep jousting. Such party animals! (*little party hats not included)

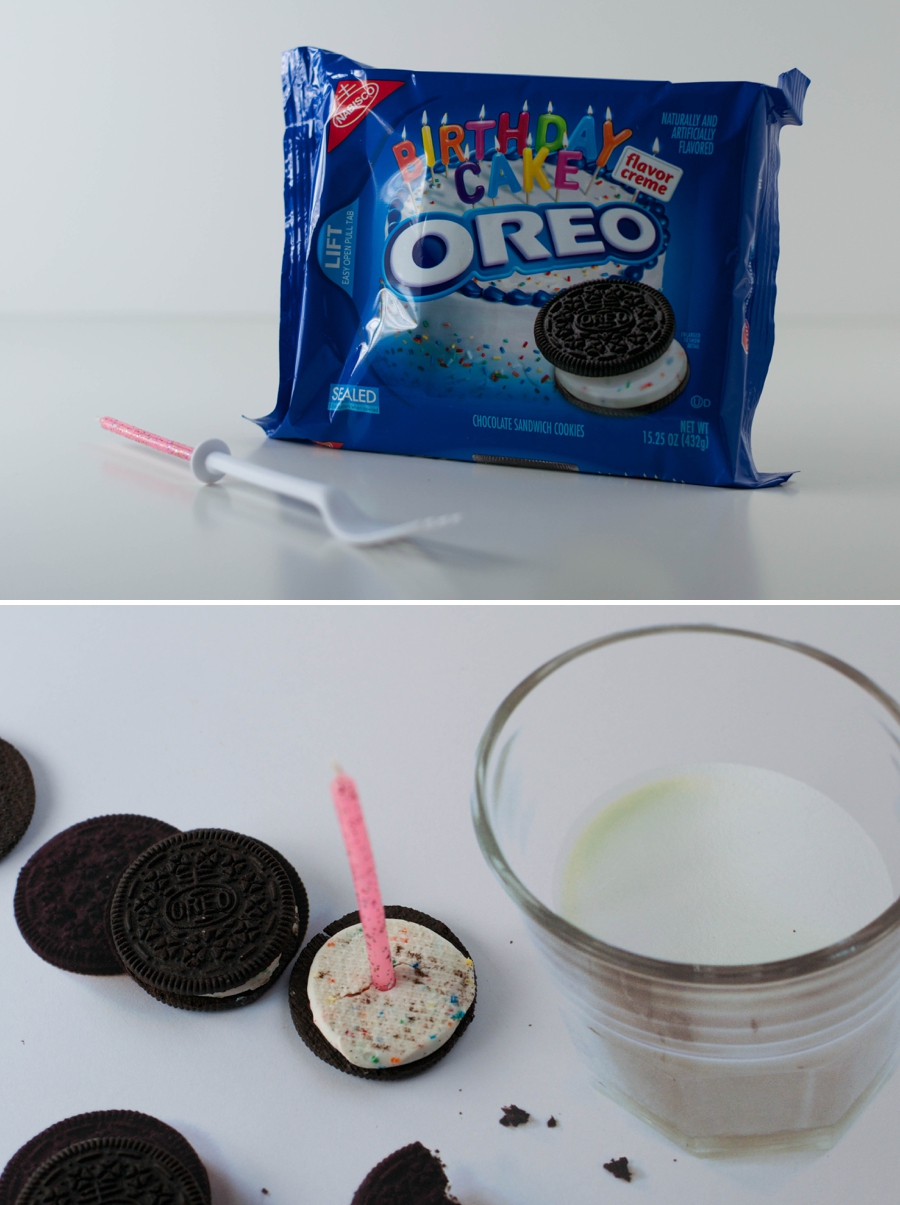
LoveColorful_Birthday Treats_00073. Birthday Cake Oreos

The oreo. So classic. And apparently 100 years old – clearly these guys have been around the birthday block. Grab an ice cold glass of milk and each cookie is like its own little piece of happiness. Birthday’s best loved cookie.

LoveColorful_Birthday Treats_0001

So there you have it, folks. Three awesome birthday cake treats, because some way, some how, you just have to have cake for your birthday. As Julia Child once said, “A party without cake is just a meeting.”

So true, Julia.

Sooo true.

Sis Boom Clip Art Series: Glitter Scallop Tree

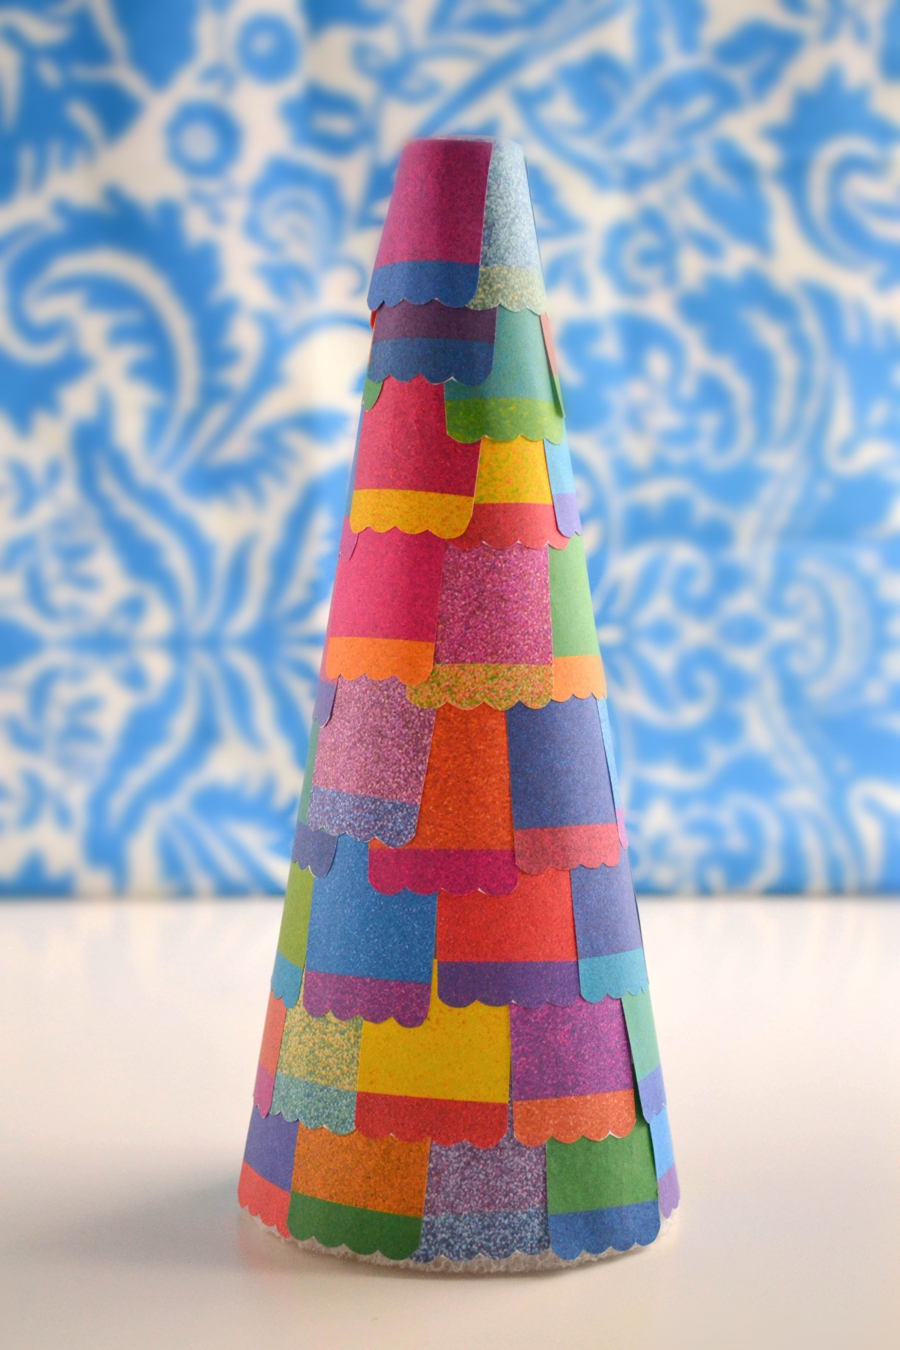
Hey there! Ok, I know you’ve seen a bunch of trees up on here, but hey, they are just so darn easy and fun to make I can’t help myself!  Using Sis Boom Clip Art we’ve already made a Sequin Flower Tree and a Striped Heart Tree, but this week we’re going with a Glitter Scallop Tree!

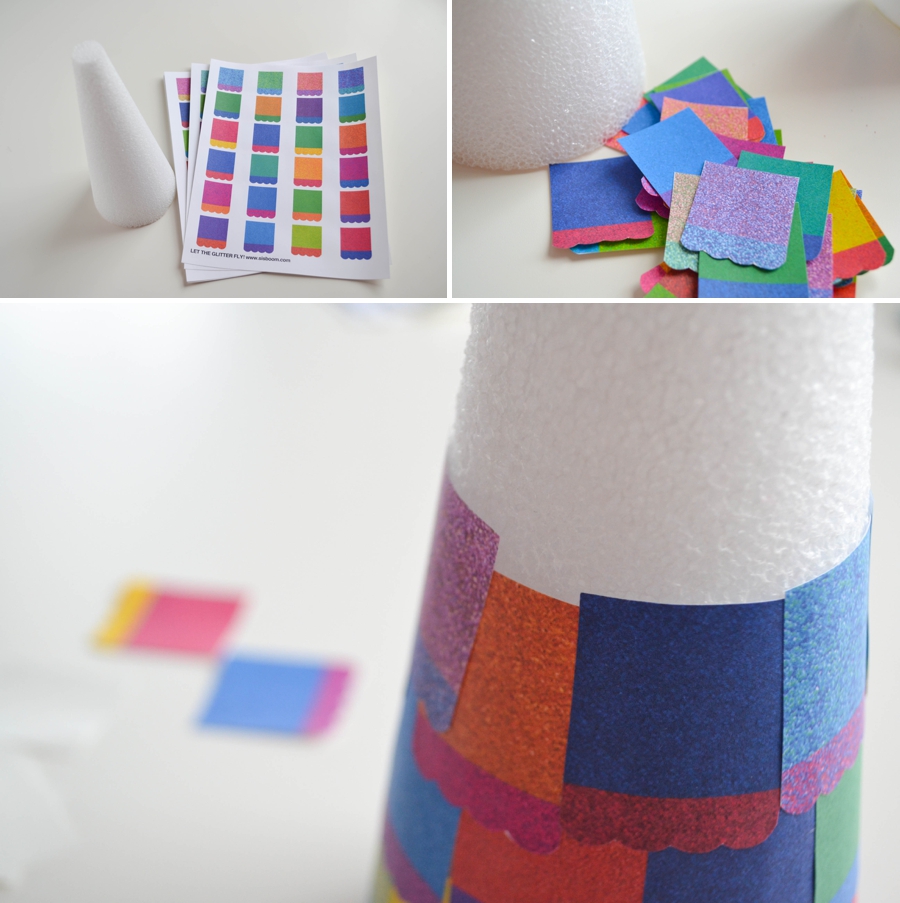
LoveColorful_Glitter Scallop Square Tree_0001As you probably have guessed by now, we’re using the Glitter Textures Clip Art (yup! the same ones we used for the Happy Home Banner, except this time we’re using the smaller, original sizes!)

o__ZxJC3bRQGDBTSqAip9GE_L-qcXPqTFKcmsAKdsp8

Since we’ve been through this quite a few times, I think we can get by with just a few pictures – sound good? Simply print your clip art on 8 1/2″ x 11″ paper (either plain white paper & glue or you can use sticker backed sheets to help the squares stick to each other)

LoveColorful_Glitter Scallop Square Tree_0002

LoveColorful_Glitter Scallop Square Tree_0003All you’ll really need is a tiny bit of patience!

Sis Boom Clip Art Series: Striped Heart Tree

Hey everyone! Happy Friday! You know what that means – a brand new Sis Boom Clip Art project!!

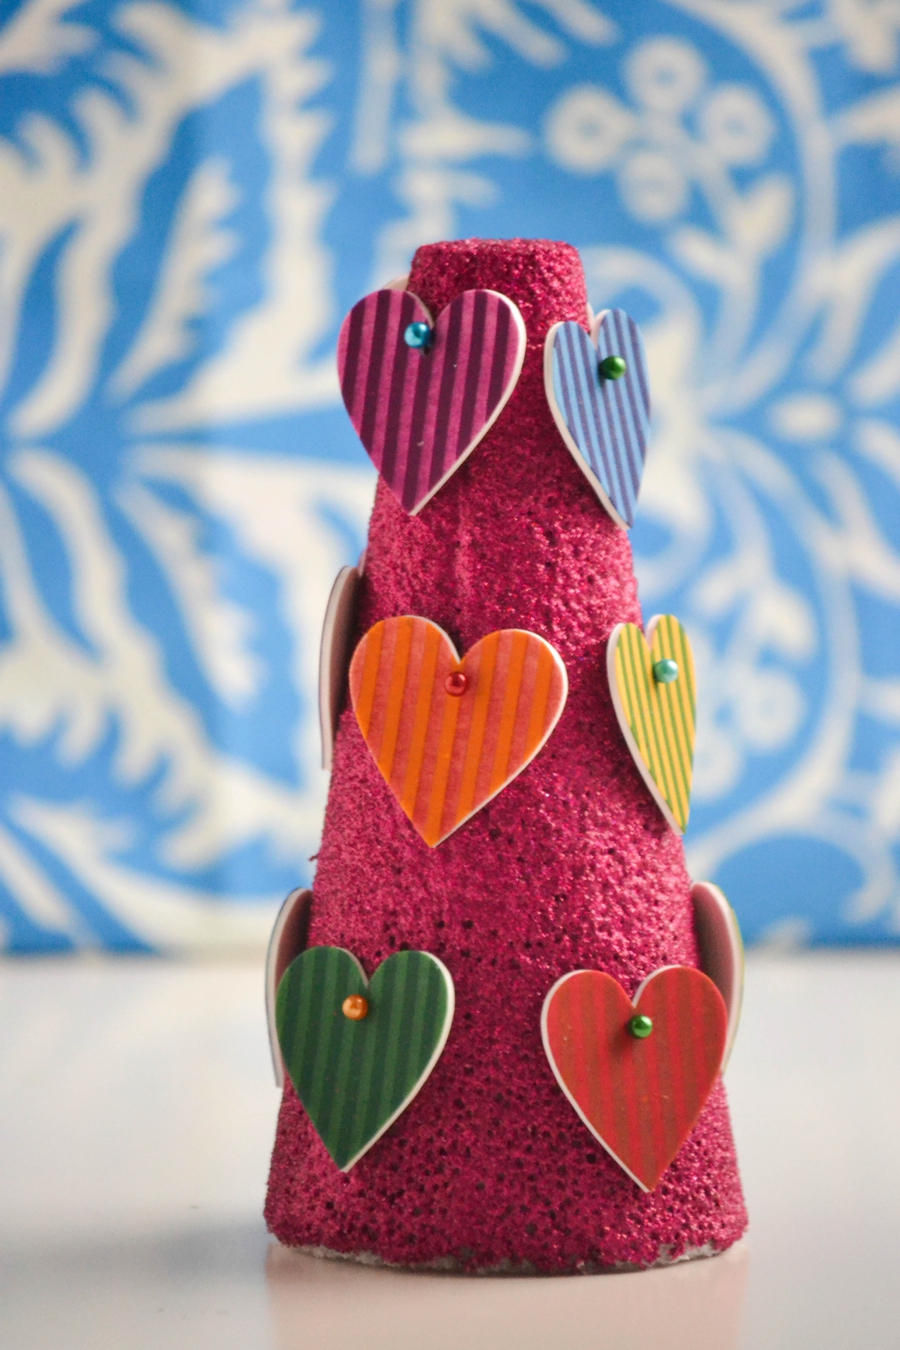
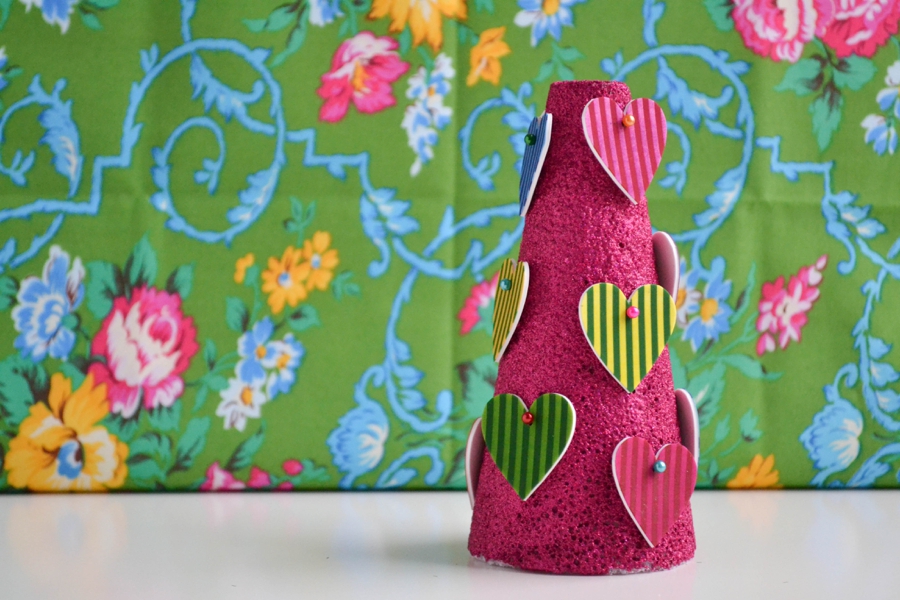
LoveColorful_Striped Heart Tree_0001This week we’re using Sis Boom’s Striped Hearts Clip Art files to make a quick & colorful decoration.

Czhrgv_euyHN4O8lRExSWQMpl19jfz6CUtr4BqJoUCA (2)

A similar idea to the Sequin Flower Tree we made a couple of weeks ago, this one is just as easy!

LoveColorful_Striped Heart Tree_0002First glitter your Styrofoam tree – just use some white glue and any color glitter that tickles your fancy.

Follow the instructions in this Confetti Heart Charm Bracelet post for printing your striped heart digital files on Shrinky Dink paper. (Remember to make sure it is the kind that can be used in an inkjet printer!)

Then cut our your hearts, shrink ’em in the oven, and use some colored straight pins to attach them to the tree – just like putting ornaments on!

LoveColorful_Striped Heart Tree_0004

LoveColorful_Striped Heart Tree_0003Imagine making a few of these in all different colors and sizes and decorating your mantle! Great for Valentine’s Day, but also just for a happy, colorful room accent that would be perfect any day of the year!

Check back here next Friday for one more take on a Sis Boom Clip Art tree!