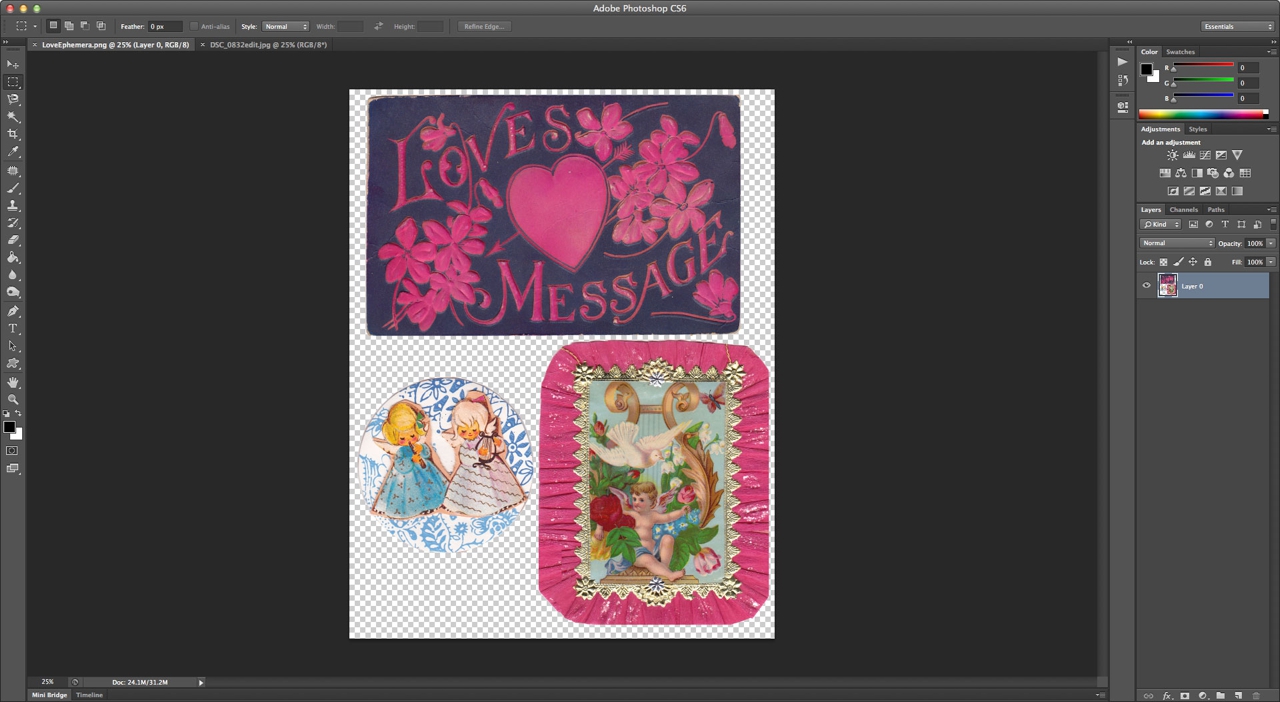
Hi guys! For this week’s Sis Boom Clip Art project I’ve got something a little different for you – an actual digital project using the digital clip art! Shocking, I know! hah Anyways, bust out your copy of Photoshop, and let’s get cracking! For this project we’ll be using one of the pieces from the Love Ephemera clip art file.

First up, open the digital clip art file (.png) and a photograph you would like to use in Photoshop. (P.S. you can click any of these screenshots I’ll be using to show them a little bigger if you need to! Also, if I mention any keyboard shortcuts, I’m using a Mac – things may differ slightly on a PC, but will be the same basic concept)
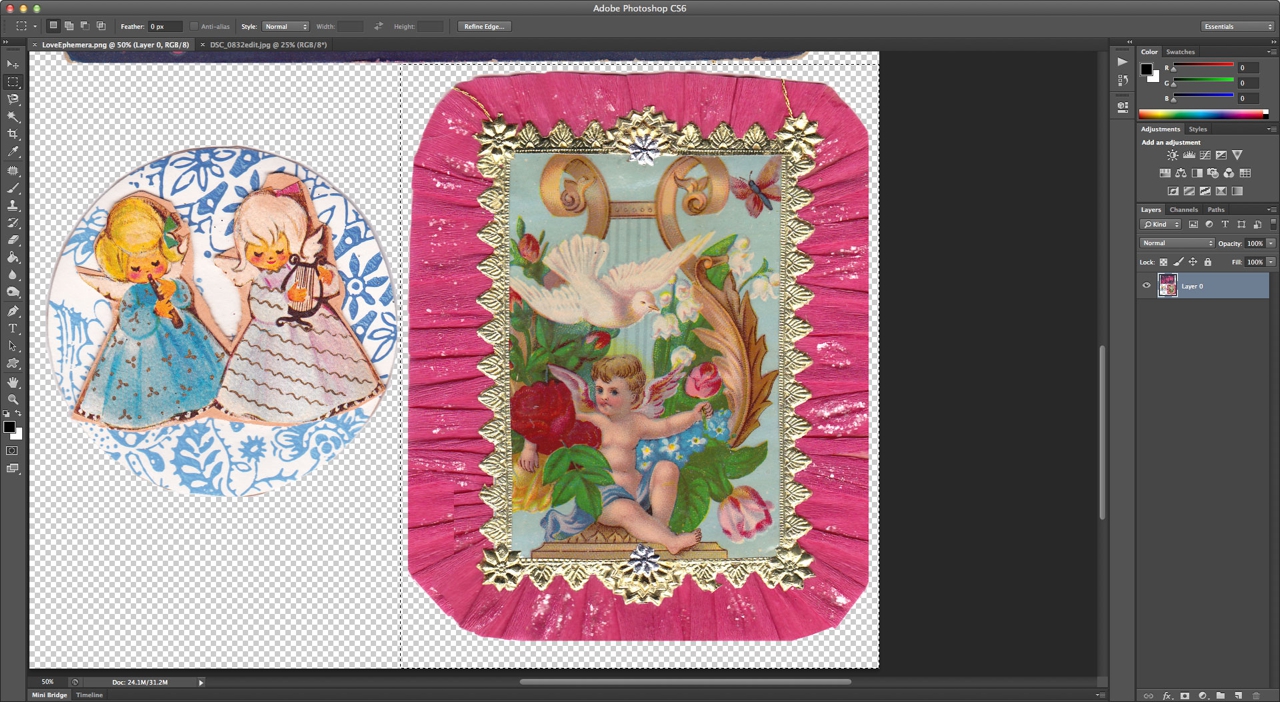
Using the “Rectangular Marquee Tool” on the left hand side of your screen (the dotted rectangle icon below the arrow at the top) select just the frame in the bottom right corner. Then copy the selection (“Edit > Copy”)

Now go to “File > New” to open a new document. By default, since you have a selection copied to your clipboard, it should come up as showing a preset for “Clipboard” (This will automagically size your new document to fit your selection). Hit OK!
 And paste your selected image into your new document.

At this point, if the photograph you chose to use is vertical, leave your canvas the way it is. If your photo is horizontal, however, go to “Image > Image Rotation > 90 CW”

Ok, now for the fun part – we get to use the Polygonal Lasso Tool! You select the tool, then click ‘points’ in which to make your selection. Start from one of the inside corners of the center image, and keep clicking along the edge – basically trace the inside frame. While the little cherub dude is cute and all, you want to add your own shining face, right? (Or perhaps a loved one, your pet gerbil, or a pretty scene)
 Once you’ve gone all the way around the middle of the frame, you’ll see the marquee dotted line wiggling all over the place. (You’ll notice a little circle appears at the corner of the tool once you’ve made it all the way around to the beginning and connect your lines)

 Now we want to invert the selection, so go to “Select > Inverse”
 Next we have to create a layer mask, so click the icon at the bottom of your layers pane that looks like a circle inside a rectangle. Click that and you should get something that looks like the picture above.

Next add a new layer. Then go to the photograph file you want to use, select all, copy, and paste it into your frame file.
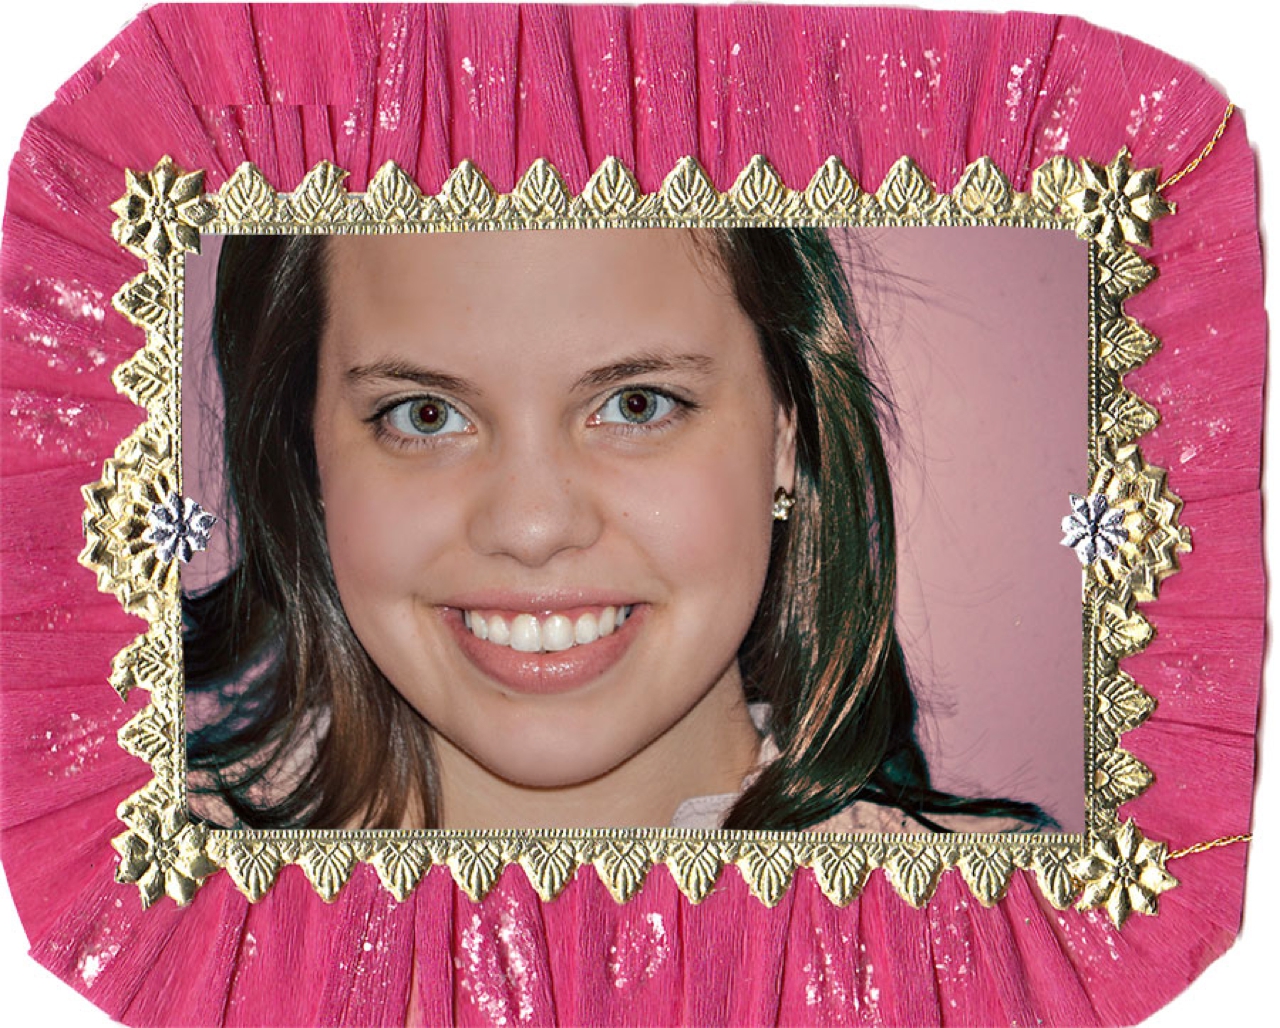
 Use the “control button + T” (or “Edit > Free Transform”)to fit the image (it will give you a box to resize it with). Hold shift and drag one corner of the photo until it is the size you need to fit in the frame. Then simply save your work, and bada-bing bada-boom: a super cute digital picture frame!