Mingle Magazine Feature

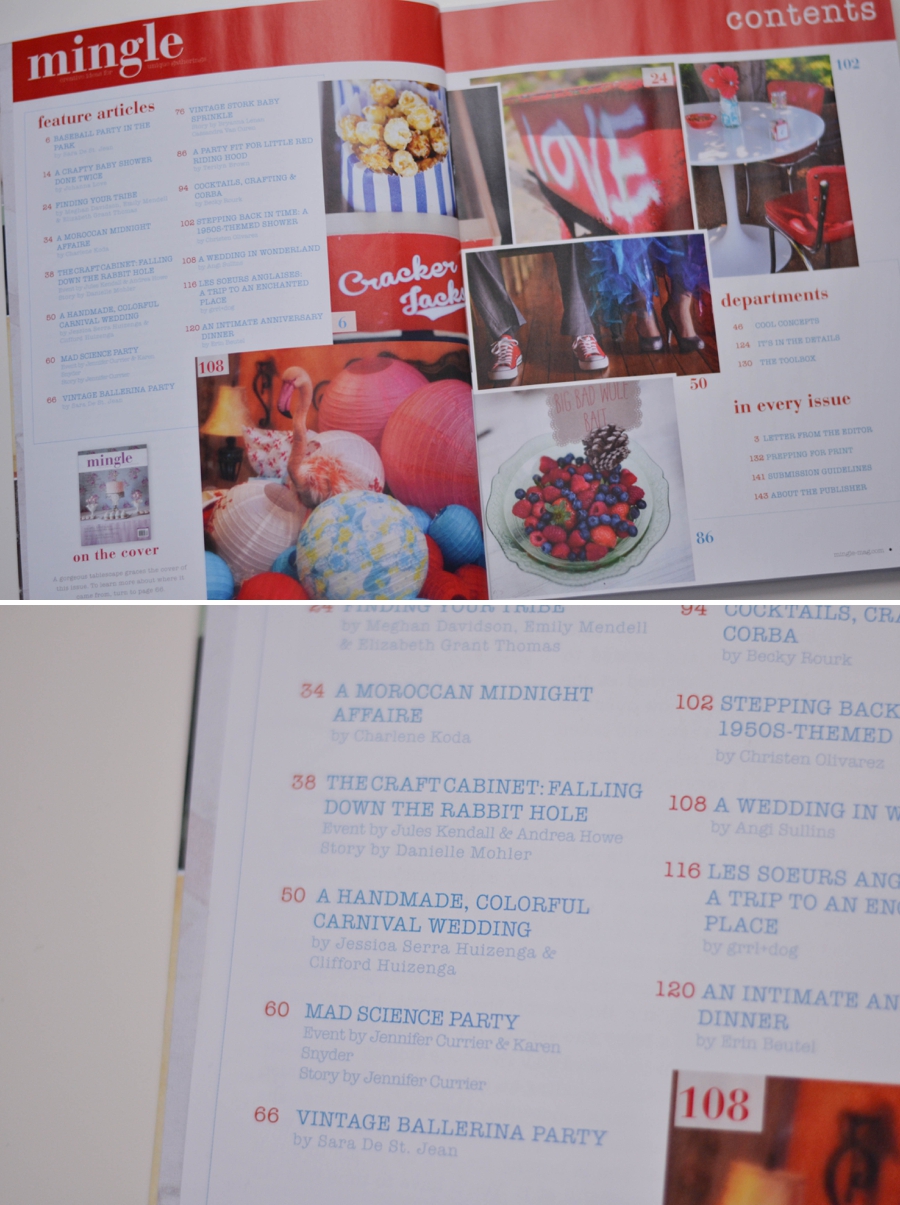
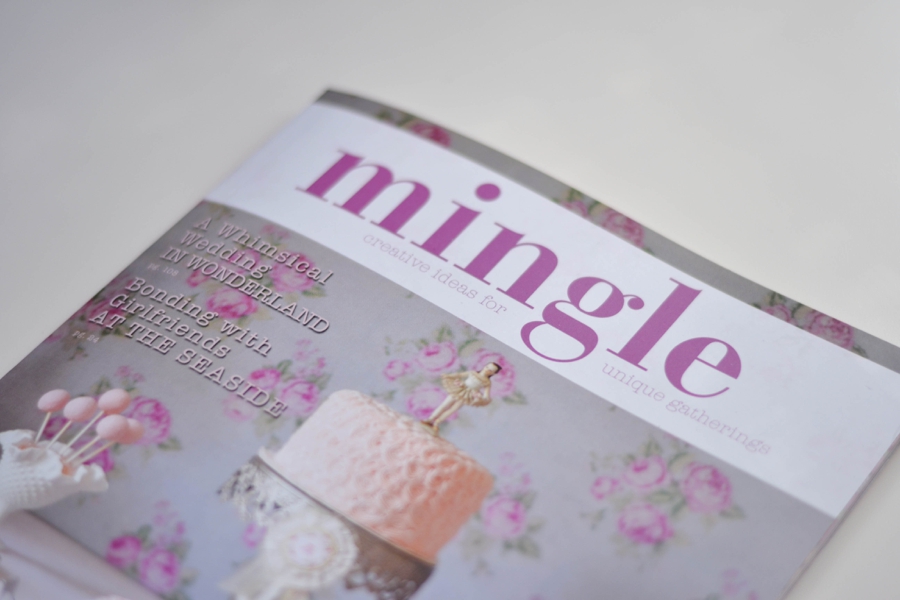
Guess whose wedding is featured in the Spring 2013 issue of Mingle magazine?

For those of you who may not know, Cliffpro and I got married last August at the New England Carousel Museum.  It was a colorful, carnival theme that was just the kind of fun day we wanted to have!  (And of course had a couple of AWESOME photographers to capture all the magic! Three cheers for team Sassy Mouth!)

Here’s a little preview of our ten page spread:

LoveColorful_Mingle Feature_0001 LoveColorful_Mingle Feature_0002

LoveColorful_Mingle Feature_0003Our wedding will also be featured in the upcoming issue of Unique Bride, a bridal magazine out of the UK!

Sis Boom Clip Art Series: Happy Home Banner

What better way to spend a happy Friday than to make a Happy Home Banner that’s full of color, sparkle, and happiness??

LoveColorful_Happy Home Glitter Banner_0001This week we’re taking Sis Boom’s Glitter textures Clip Art and turning it into something magical!

o__ZxJC3bRQGDBTSqAip9GE_L-qcXPqTFKcmsAKdsp8

The best part about these little guys? There are a TON of colors to choose from, so you can coordinate to almost any palette.

LoveColorful_Happy Home Glitter Banner_0006First we have to take our scalloped squares and make ’em BIGGER.  To do this, create a new file in Photoshop (or whatever photo editing program you like to use) that has a width of 11 in and a height of 8.5 in.  Copy and paste two separate scallop squares into your new document. You can really make them any size you’d like, but for mine I found a width of 355 px and height of 415 px worked well to fit two squares on each page (shown with the blue arrow above).  Print it out on a regular piece of paper (or glossy photo paper for a shinier version) – just be sure to “scale to fit” the page when printing so nothing gets cropped out!  Repeat until you have the proper number of squares (For “Happy Home” you will need 9!)
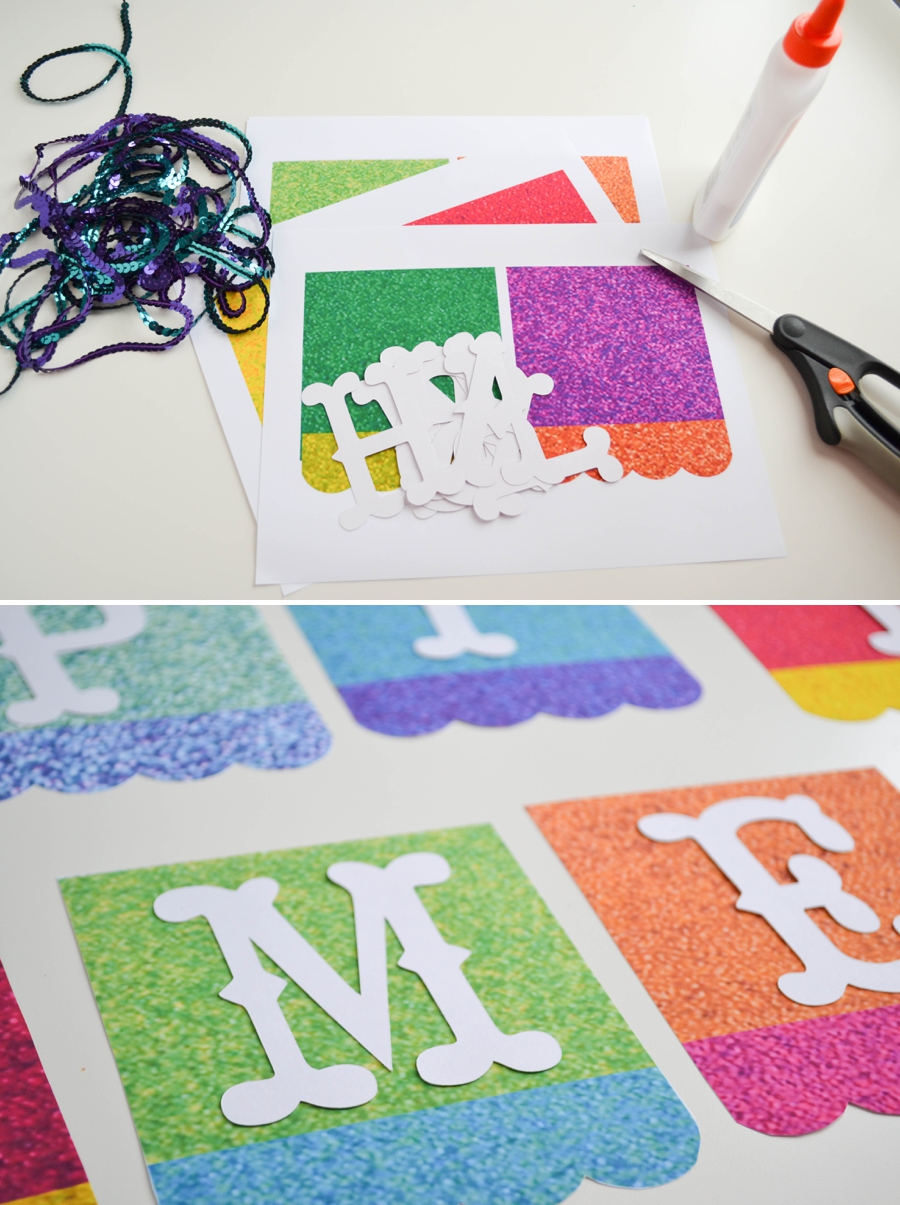
LoveColorful_Happy Home Glitter Banner_0002You’ll also need to cut out some letters! I decided to dust off my Cricut machine, but you can either add in the letters digitally before you print, write them on with marker yourself, or print out letters to cut out.  You’ll also need some glue & scissors to cut out your squares and glue on the letters!

LoveColorful_Happy Home Glitter Banner_0003

LoveColorful_Happy Home Glitter Banner_0004

To help hang up your pretty little banner, you’ll need some ribbon or sequin strands and some clothespins. I just took some regular old clothespins, covered one side in white glue, and sprinkled on some glitter to keep with our colorful, sparkly theme. Feel free to embellish any way you’d like! (For some of you, part of the appeal of these digital scallop squares might be the fact they have the pretty look of glitter, without all the mess.  If that’s the case, you can even print out some extra squares and cut out strips to glue on your clothespins)
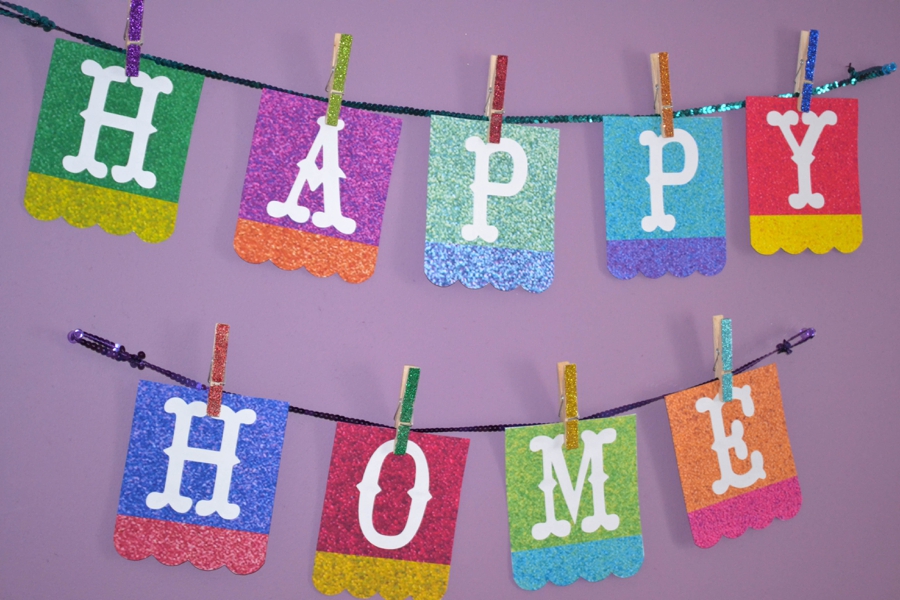
LoveColorful_Happy Home Glitter Banner_0005Make a loop at each end of your ribbon, use a couple of push pins, and voila! Your home is instantly happier :) :) :)

 Don’t forget to check back here every Friday for a new Sis Boom Clip Art project!!
Creative Stylist Promo Packets

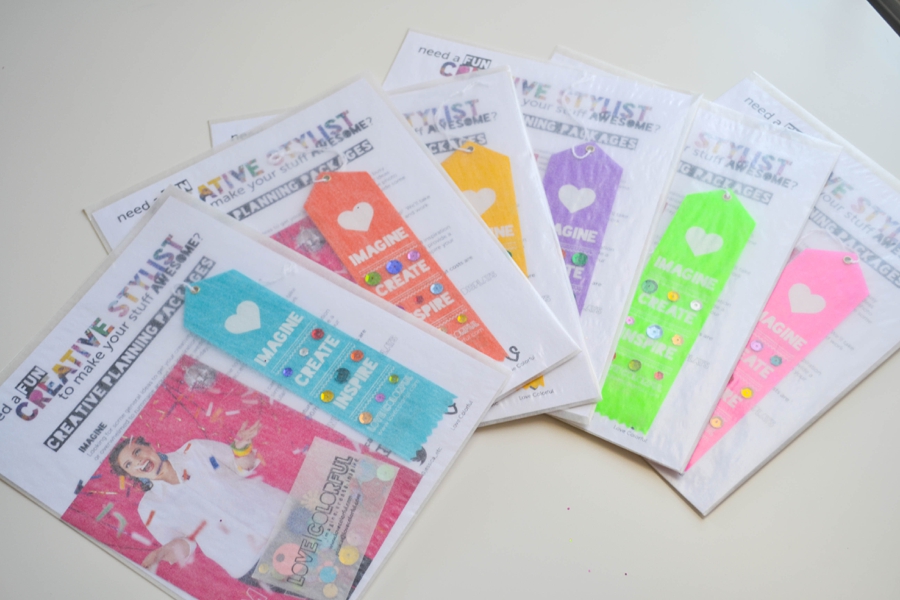
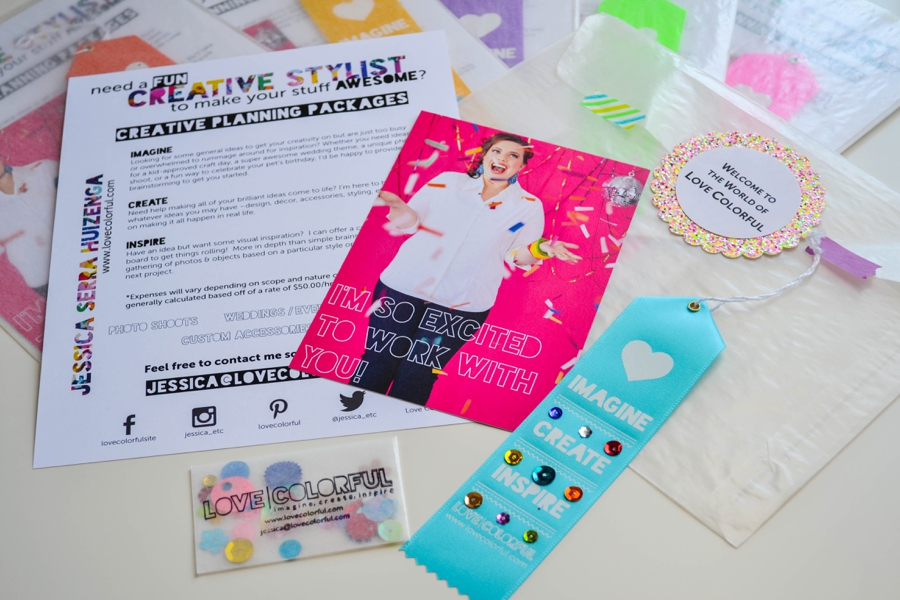
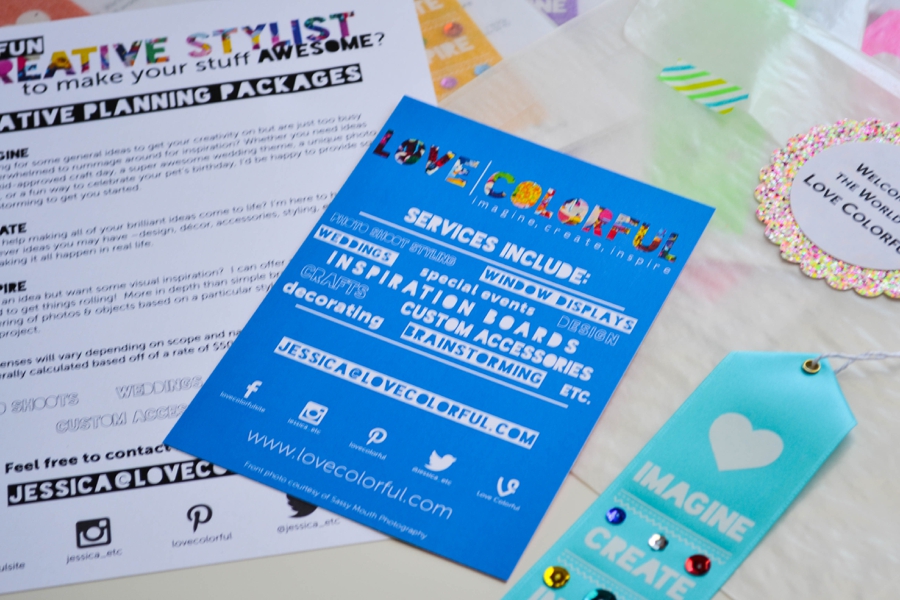
I’ve finally finished up making some promotional packets for my services as a creative stylist, and thought I’d share a little sneak peek with you!

LoveColorful_Creative Stylist Packets_0005 LoveColorful_Creative Stylist Packets_0001 LoveColorful_Creative Stylist Packets_0002 LoveColorful_Creative Stylist Packets_0003

LoveColorful_Creative Stylist Packets_0004Now they’re ready to start making their way out into the world :)  Want some more info on what I can offer? Check out my Services tab on the right hand side of the page!

(Props to Sassy Mouth Photo for taking that awesome picture of me in all my confetti wand glory! Wanna see some more from the shoot? Check it out here in case you missed it!)

(And more props to Ribbons Galore for doing a fabulous job on my Love Colorful ribbons! Cliffpro & I designed them and I embellished with the sequins, but the rest was all them! They’re pretty snazzy if I do say so myself.)


Sis Boom Clip Art Series: Spring Placecard Holders

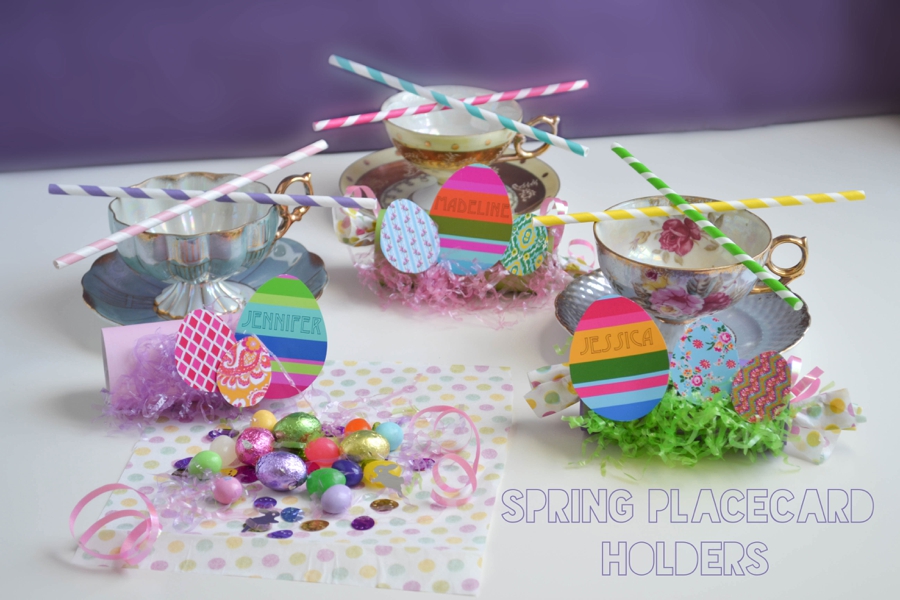
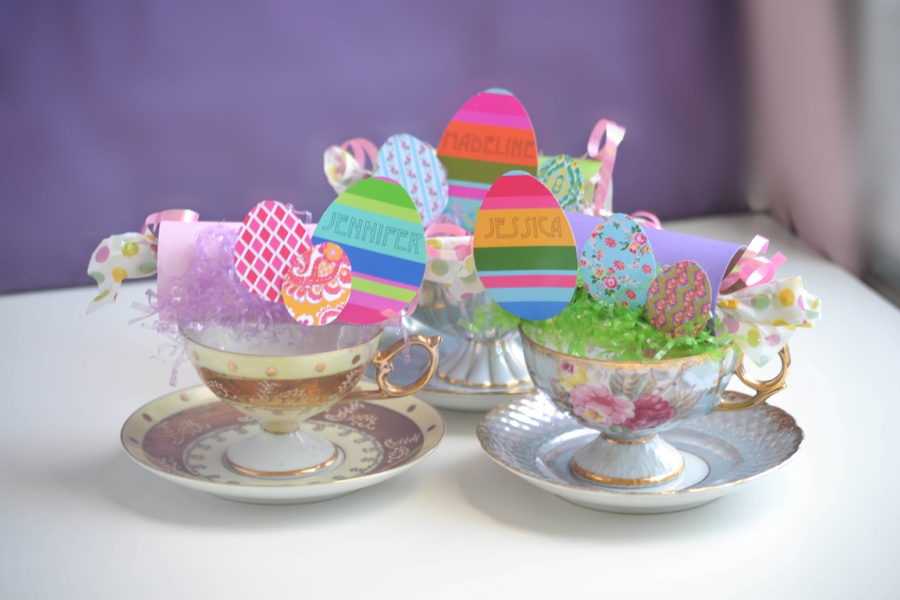
Hey everyone! For this week’s Sis Boom Clip Art Series I’ve got a quick & easy project that’s perfect to jazz up your Easter table!

LoveColorful_Spring Placecard Holders_0005Featuring:

vIYCPvJHWg98nbZM6IwLjE8IOiDThPF8b7t88sNwM7c

For this project, you will need:

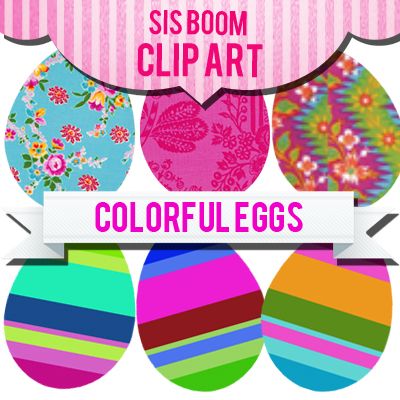
LoveColorful_Spring Placecard Holders_0001Sis Boom Spring Eggs Clip Art file (printed out on glossy photo paper with names added  – you can do this digitally before you print, or use a permanent marker/stickers to add them in after)

-empty toilet paper rolls

-colored paper

-hot glue

-Easter grass

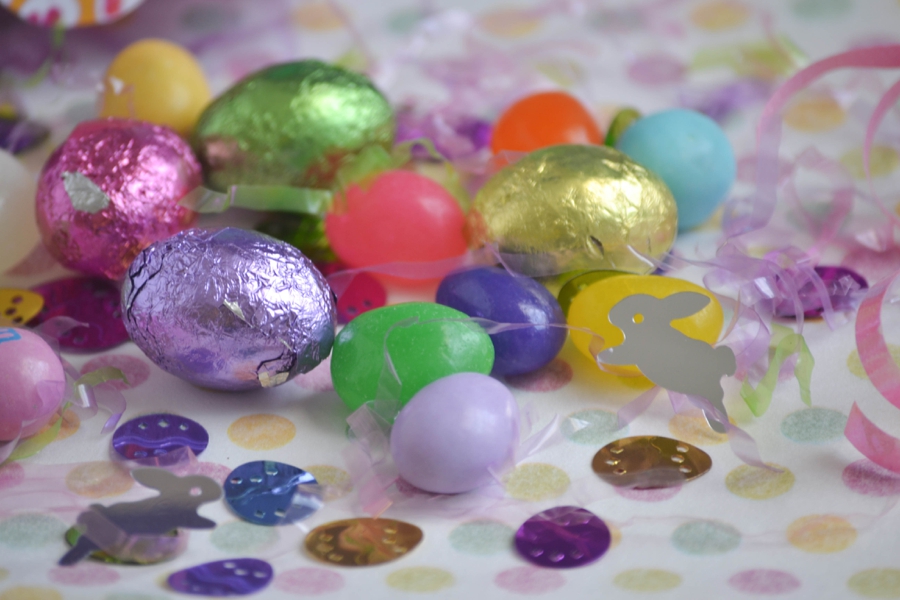
-tissue paper, ribbon, and assorted candies/confetti/trinkets

LoveColorful_Spring Placecard Holders_0002

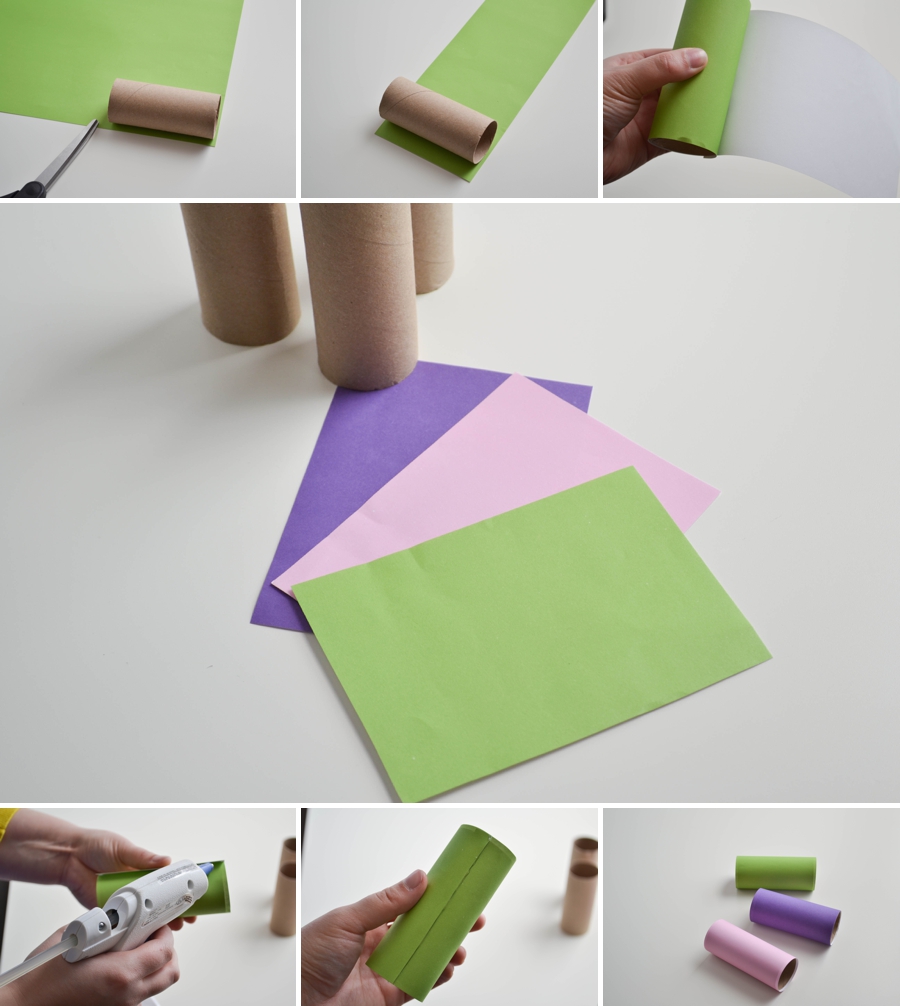
Start by cutting out a piece of colored paper to fit around the TP roll. Add a strip of hot glue where you start, and some where you finish so the paper completely covers the roll.  Use a variety of colors to match your decor!

LoveColorful_Spring Placecard Holders_0003Next take some Easter grass and hot glue some to one side of the roll.  (and cut out your eggs!)

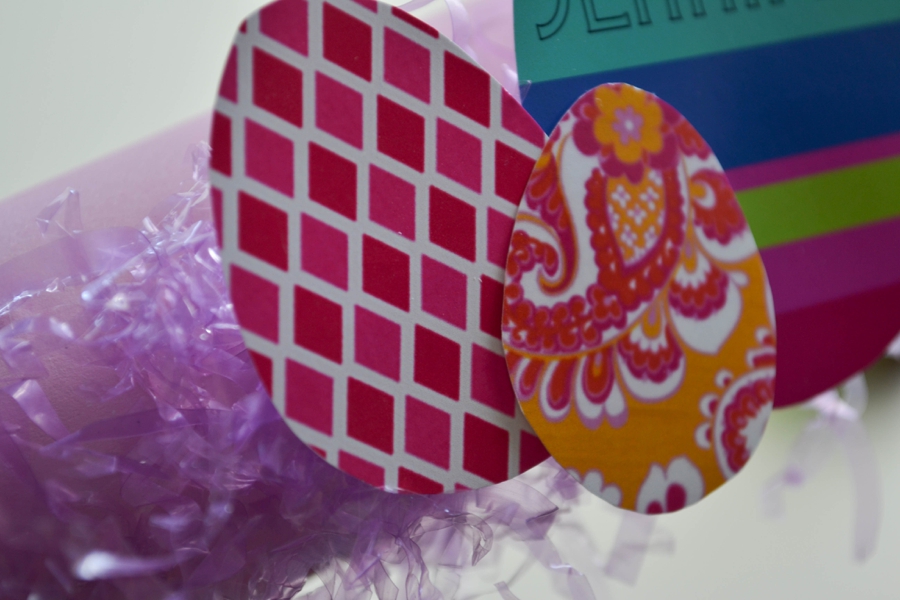
LoveColorful_Spring Placecard Holders_0004Glue your eggs on next!

LoveColorful_Spring Placecard Holders_0011

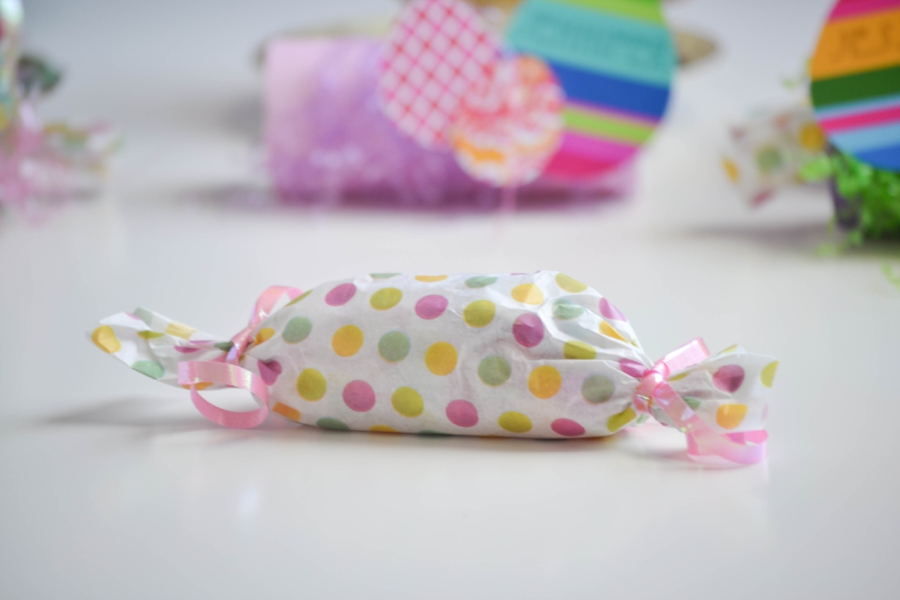
LoveColorful_Spring Placecard Holders_0008Take a piece of decorative tissue paper and fill with an assortment of treats and confetti. Roll it up, tie both ends with some ribbon, and you’re good to go! How easy was that? :)

LoveColorful_Spring Placecard Holders_0007

LoveColorful_Spring Placecard Holders_0010Be sure to tune in on Fridays for more Sis Boom Clip Art projects!

DIY Felt Eggs

Hey everyone! I’ve got a brand new project for you, just in time for Easter!

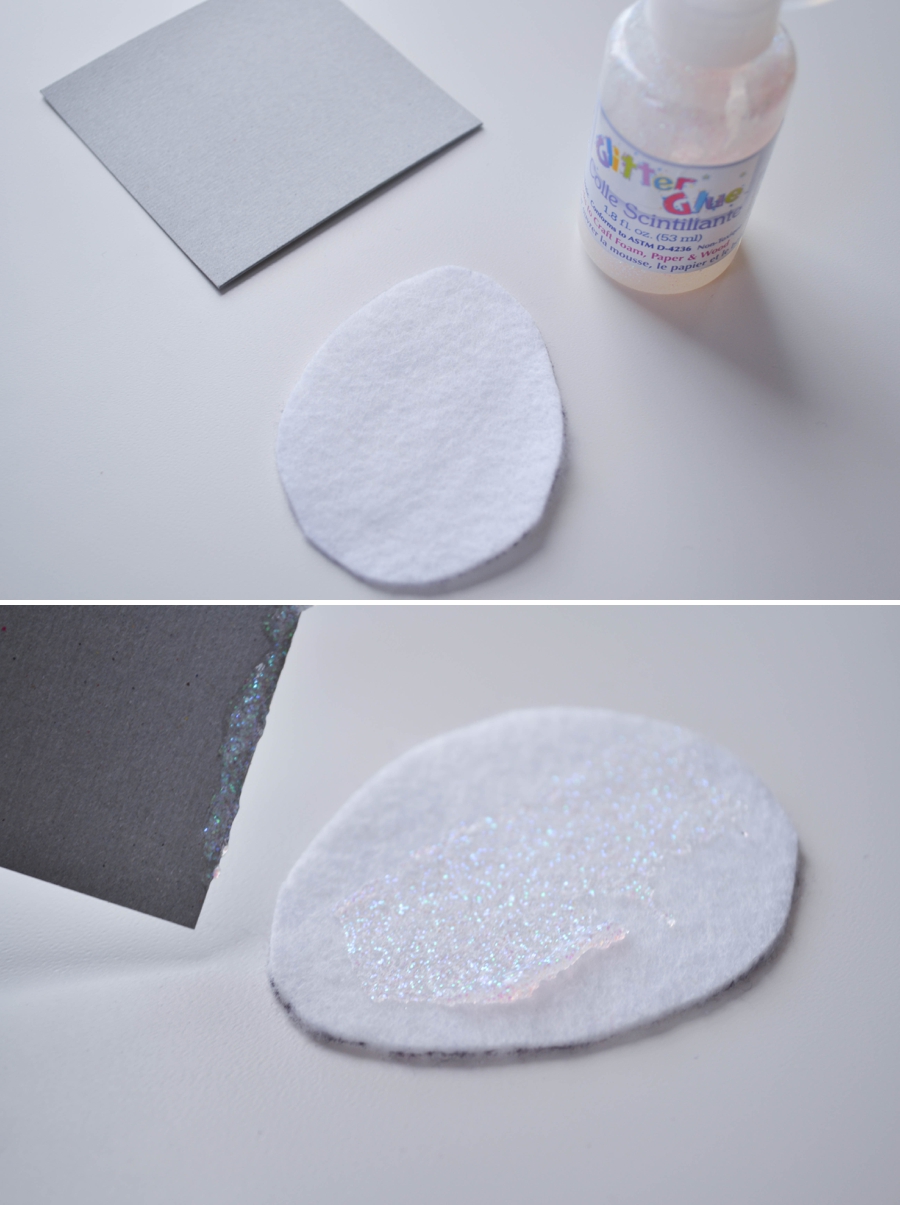
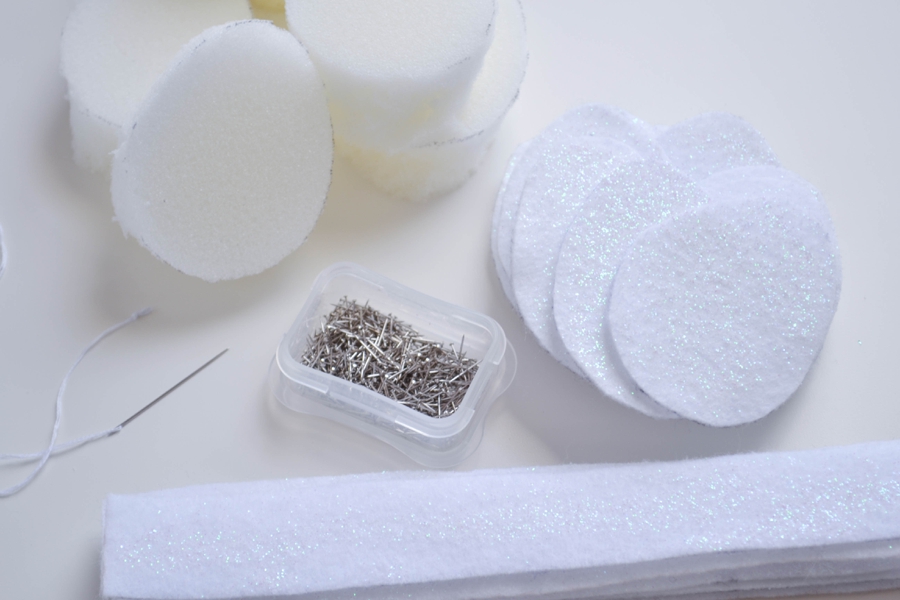
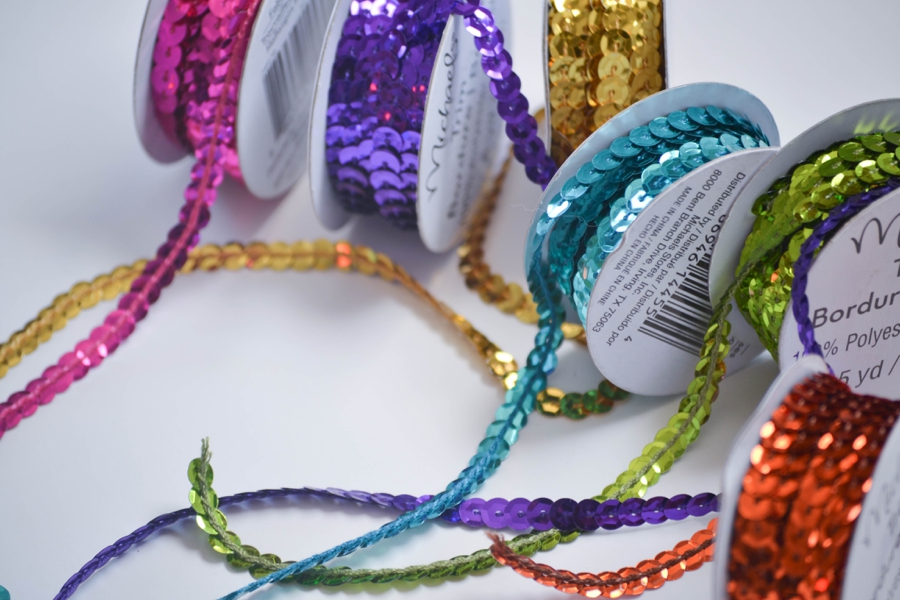
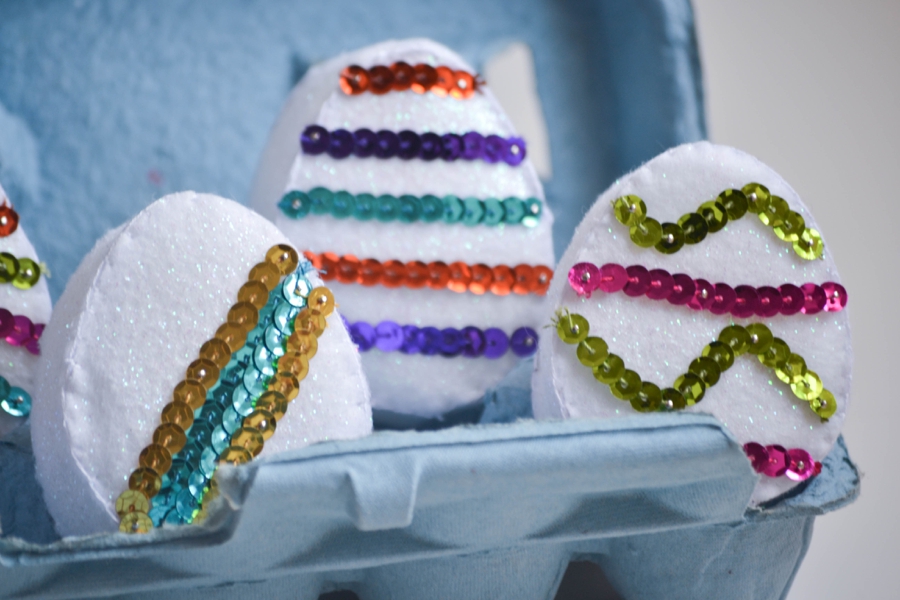
LoveColorful_Felt Eggs_0007To make these little beauties, you will need some white felt, glitter glue, a piece of craft foam (I like to use Airtex – I can get it in squares from my local craft store), needle & thread, sequin pins, fabric/felt glue, and some sequin strands.

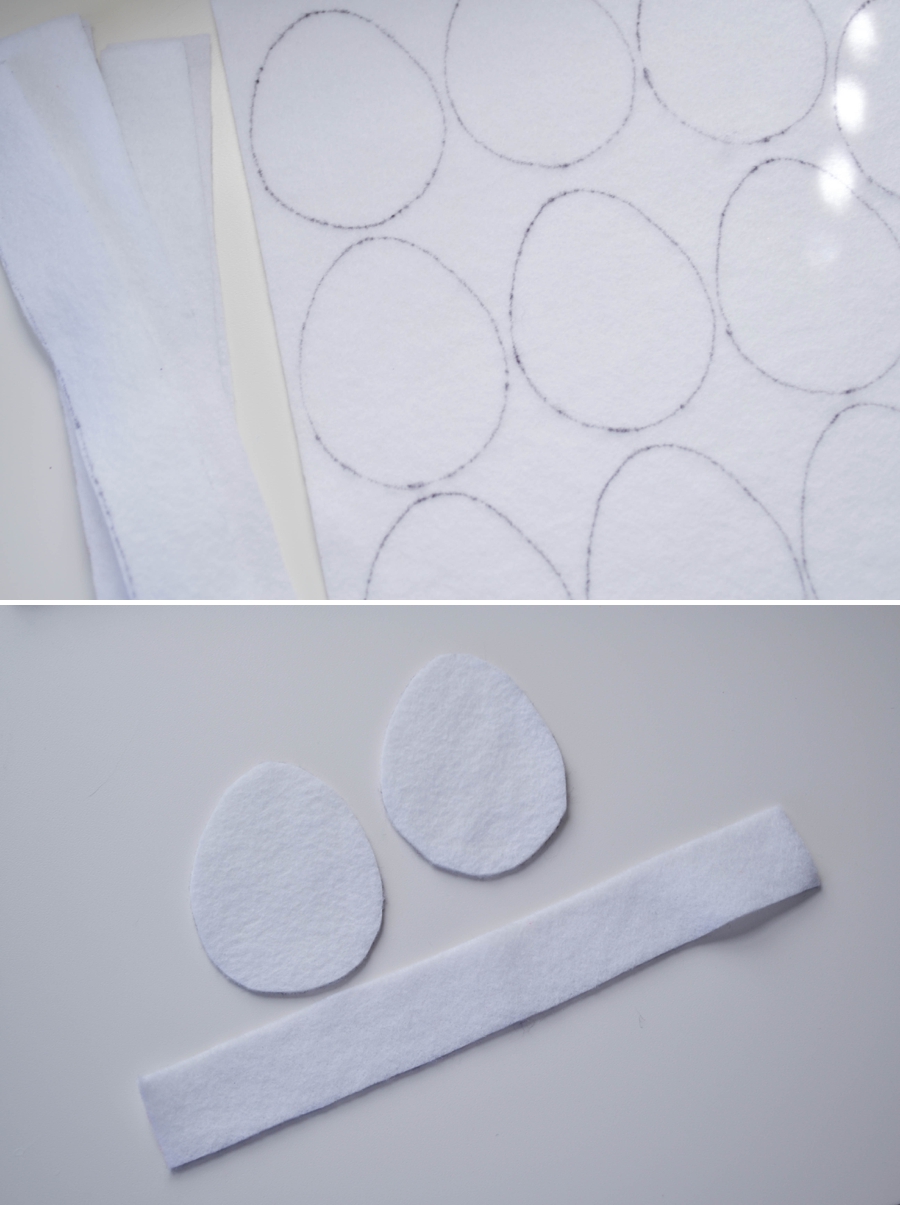
LoveColorful_Felt Eggs_0001Start by tracing & cutting out an egg shape onto the white felt. (You can either find an egg picture online, draw a template, or buy these cutie clip art eggs which can be used for a lot of other fun Spring & Easter projects, too!) You will also need to cut out a rectangular strip that can go around the edge of your foam (the size will depend on the size egg and depth of foam you use – I promise this will make sense when you see the pictures below!)  For each egg you will need 2 egg cutouts and one strip.

LoveColorful_Felt Eggs_0003To make your eggs nice and sparkly, cover one side of each egg and the strip with a little glitter glue. You can use the side of a piece of scrap cardboard to spread it out over the felt.

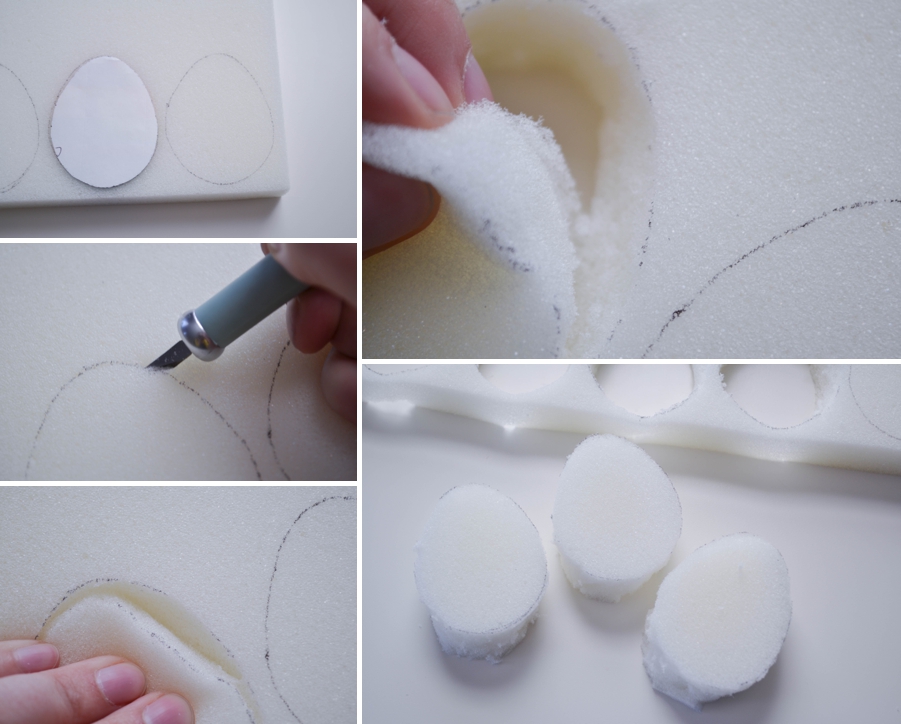
LoveColorful_Felt Eggs_0002While you’re waiting for those to dry, use your egg template to trace the shape onto the foam. Using a craft knife, cut out each egg. Just keep ‘tracing” the shape with your knife until you break through to the other side. It doesn’t have to be prefect as long as you get the basic shape cut out.

LoveColorful_Felt Eggs_0004

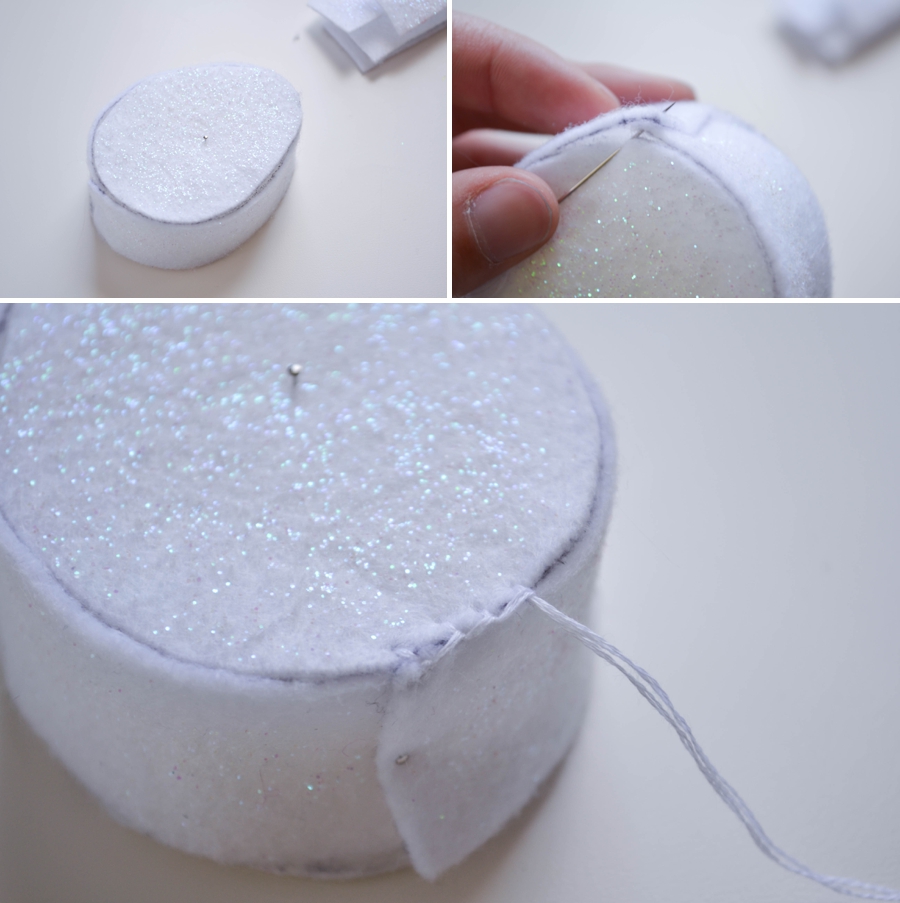
LoveColorful_Felt Eggs_0005Pin your felt pieces to the foam eggs and stitch around the edges.

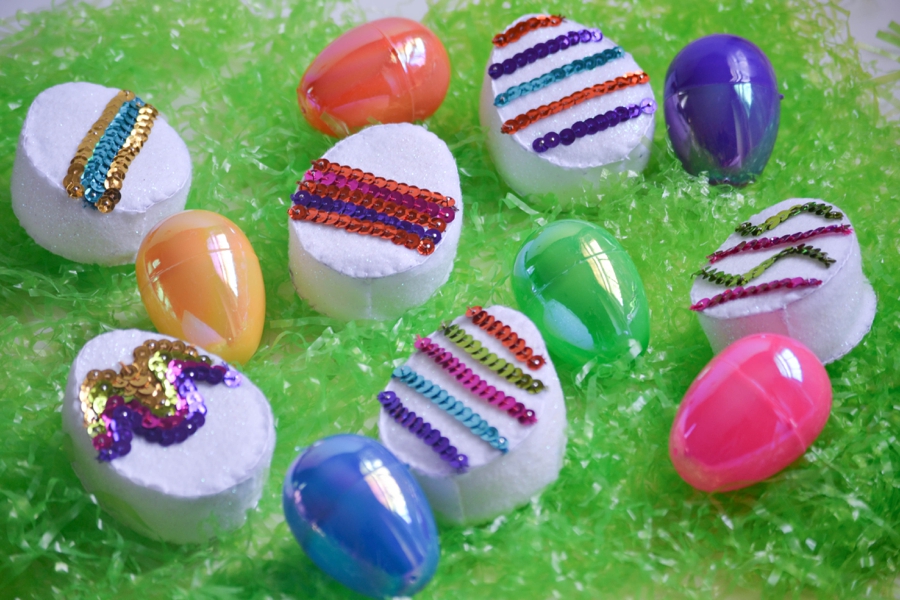
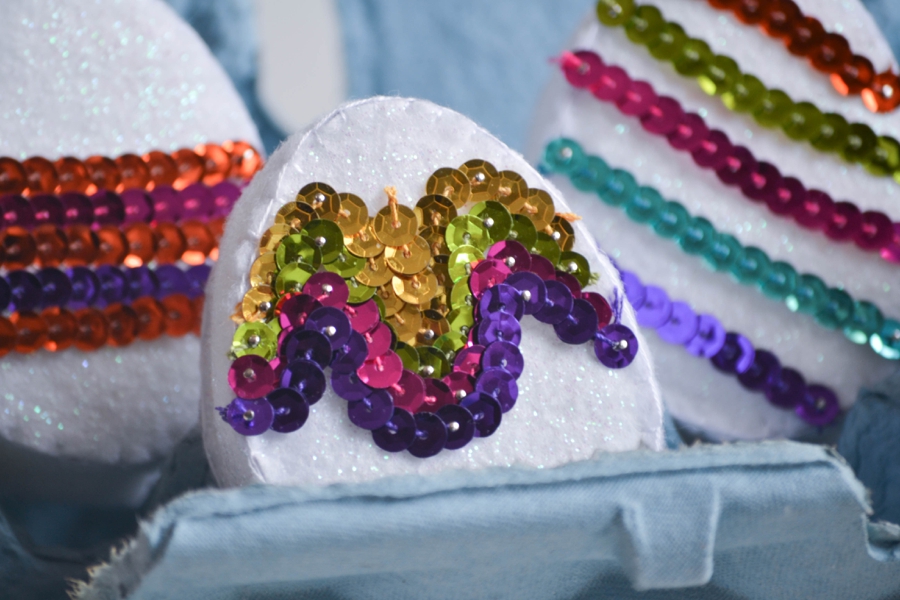
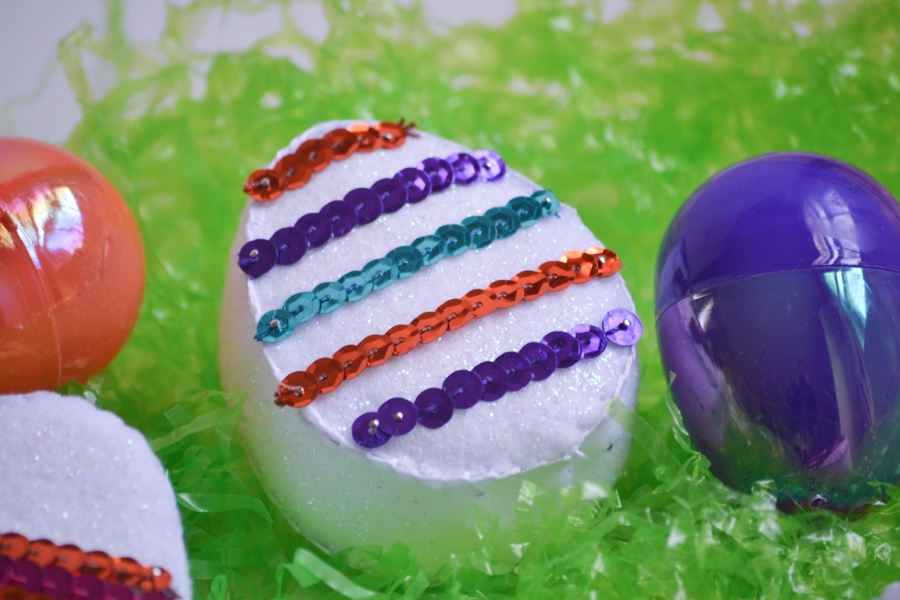
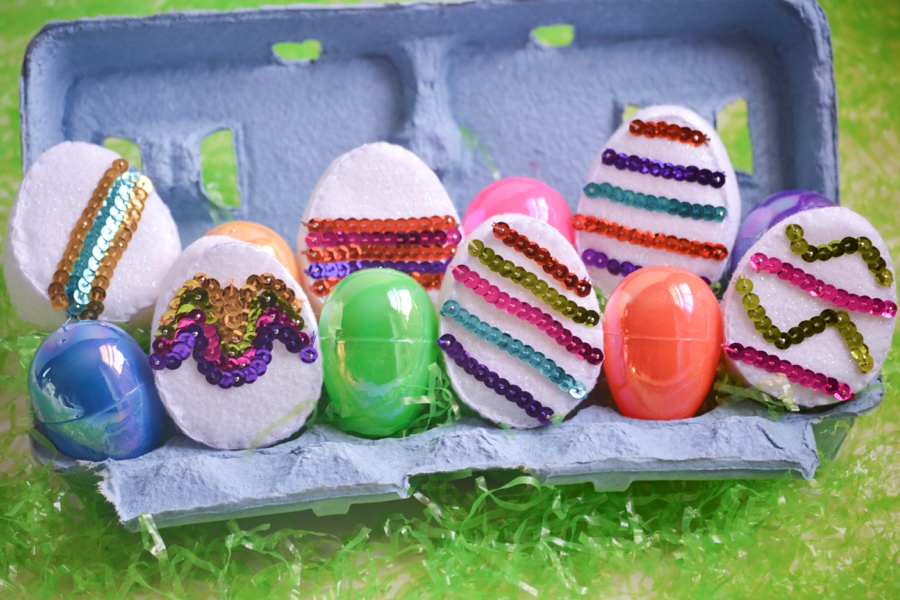
LoveColorful_Felt Eggs_0006Use some sequin strands (or loose sequins) to decorate! (I found a combination of gluing the strands and using some sequin pins worked best to get them to stay in place)

LoveColorful_Felt Eggs_0010 LoveColorful_Felt Eggs_0009 LoveColorful_Felt Eggs_0011 LoveColorful_Felt Eggs_0008 LoveColorful_Felt Eggs_0012

LoveColorful_Felt Eggs_0013Have fun playing around with different variations – how about some colored felt for colored eggs? Or using glitter glue and beads to decorate?